Building A Complete DIY Snowboard And Press From Scratch
Hi Everybody! I watched a youtube episode from the guys at Signal Snowboards how they built a snowboard and a snowboard press for 100$. How awesome is that? =) A minute later I knew that I have to try that on my own. So I started to read everything I could find about how a snowboard is built and constructed. In general, the process is not very complicated but the working hours that goes into this is insane!!
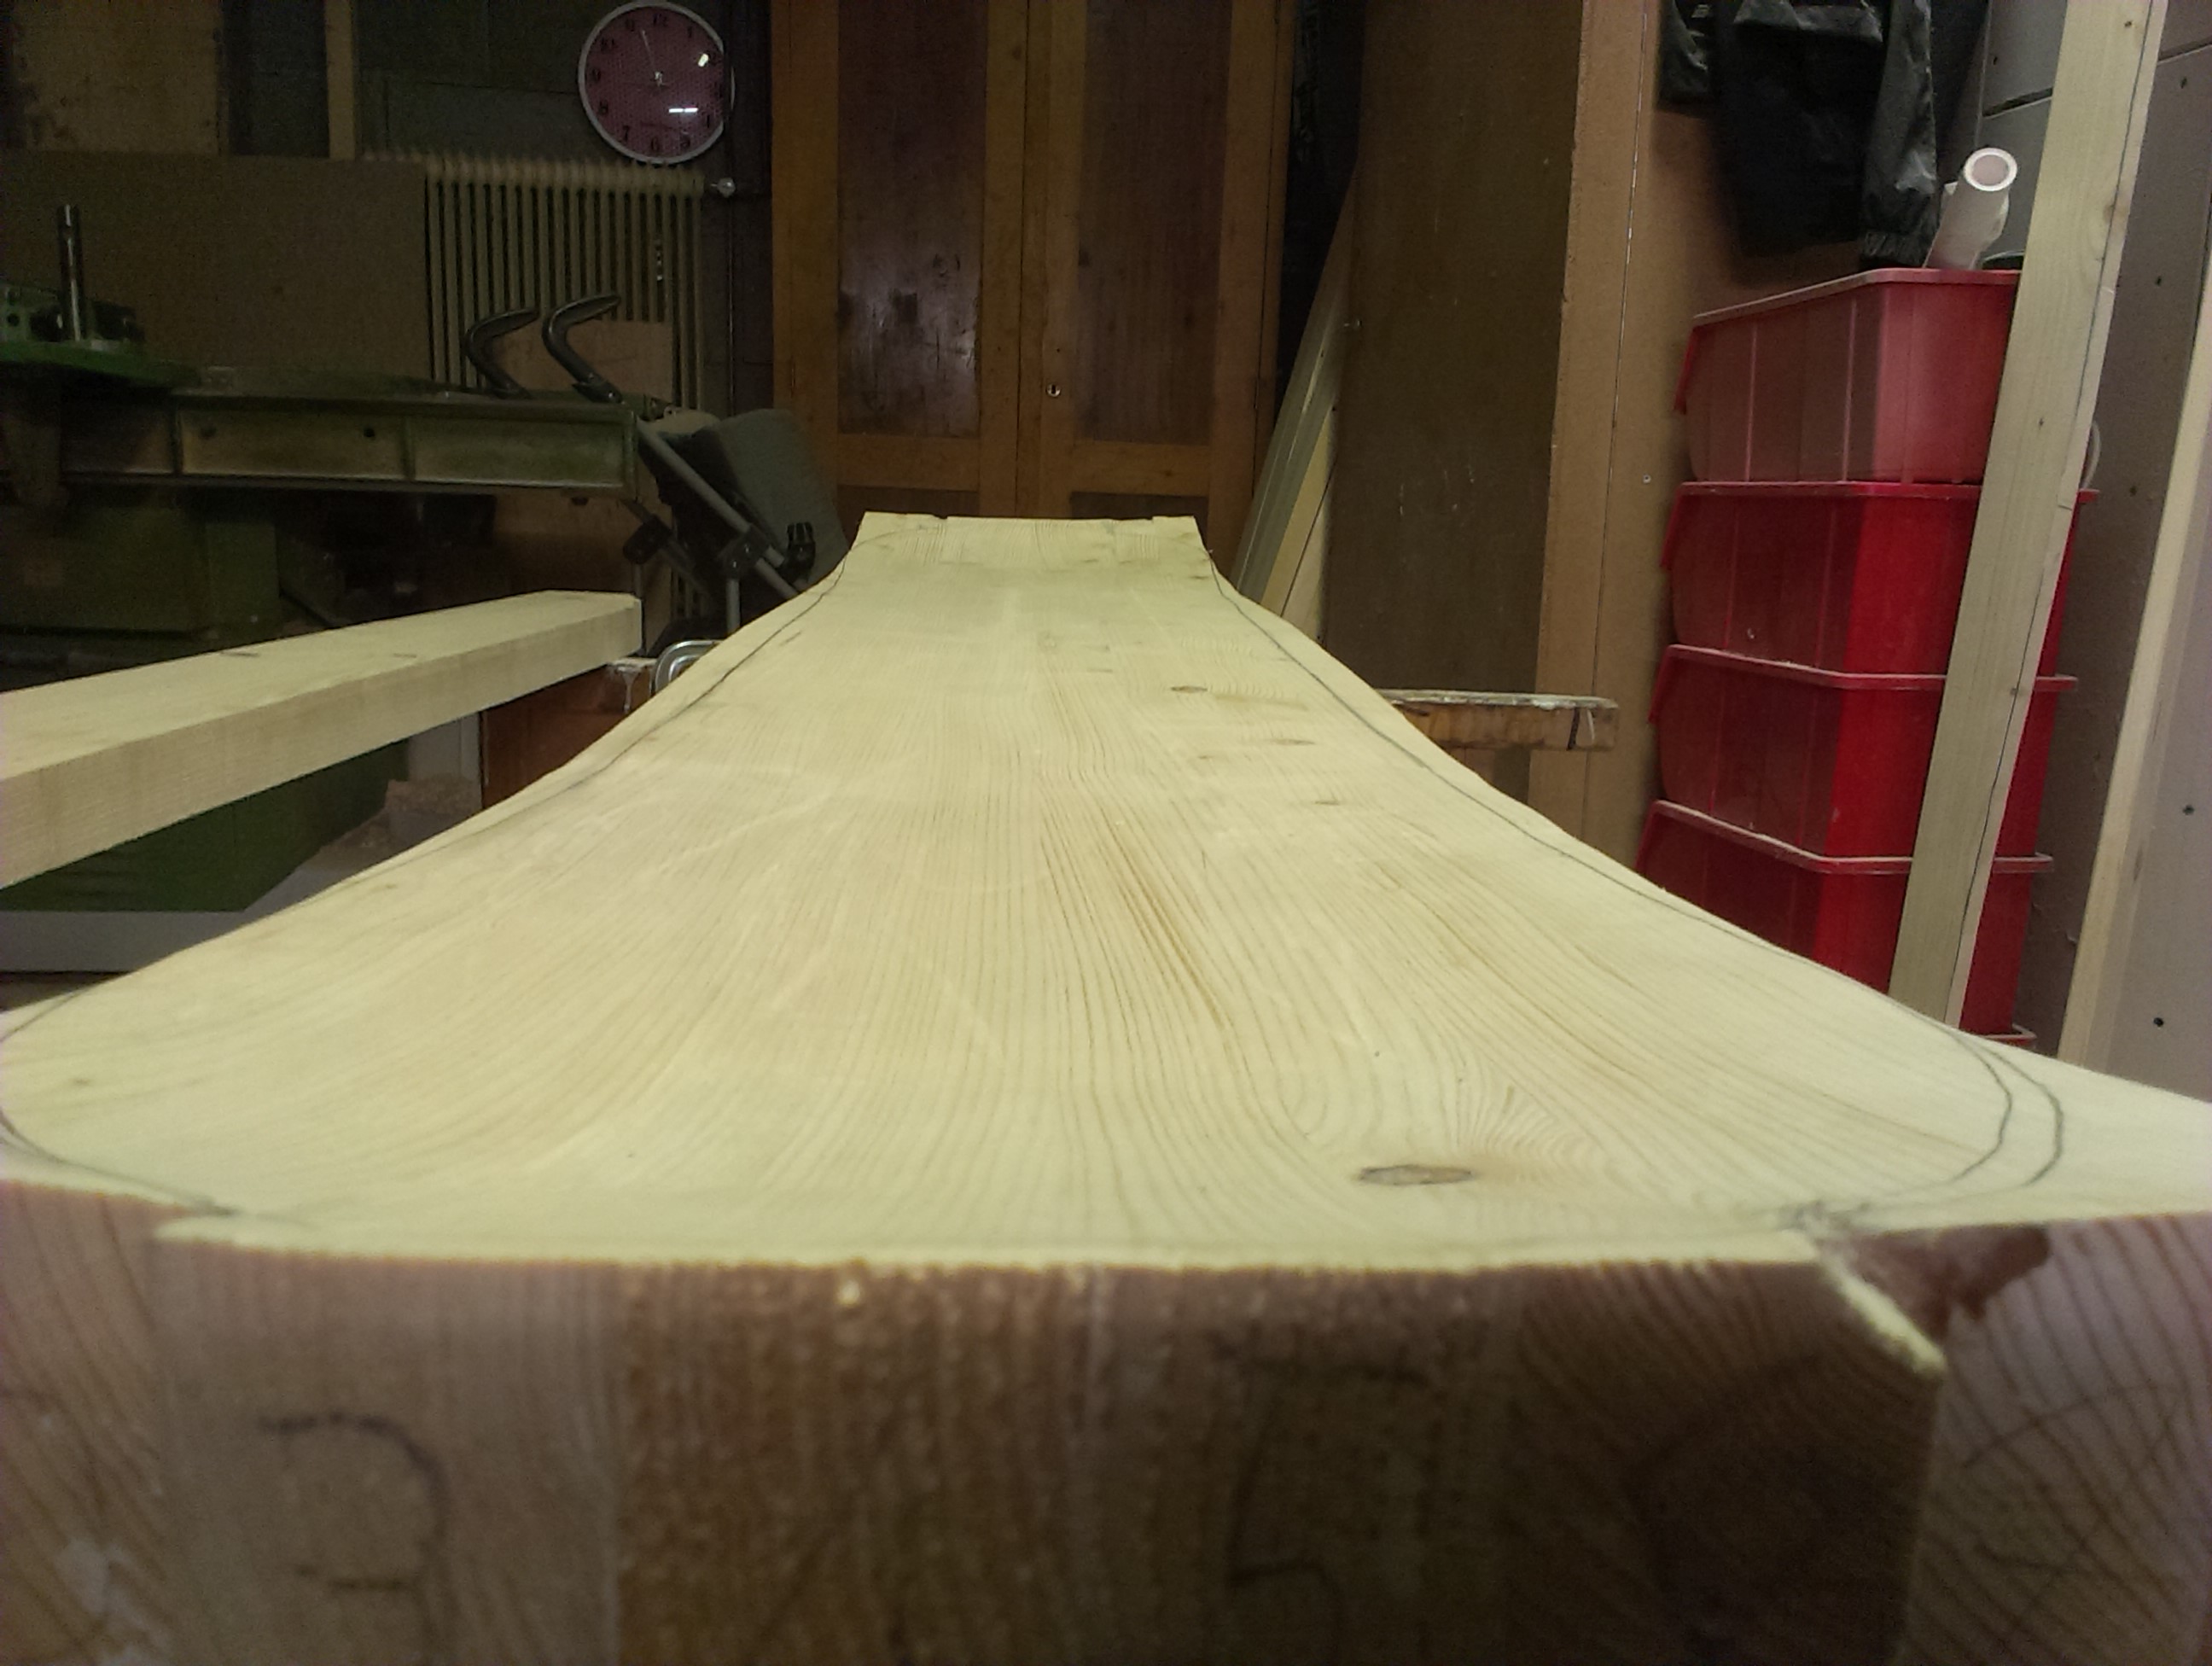
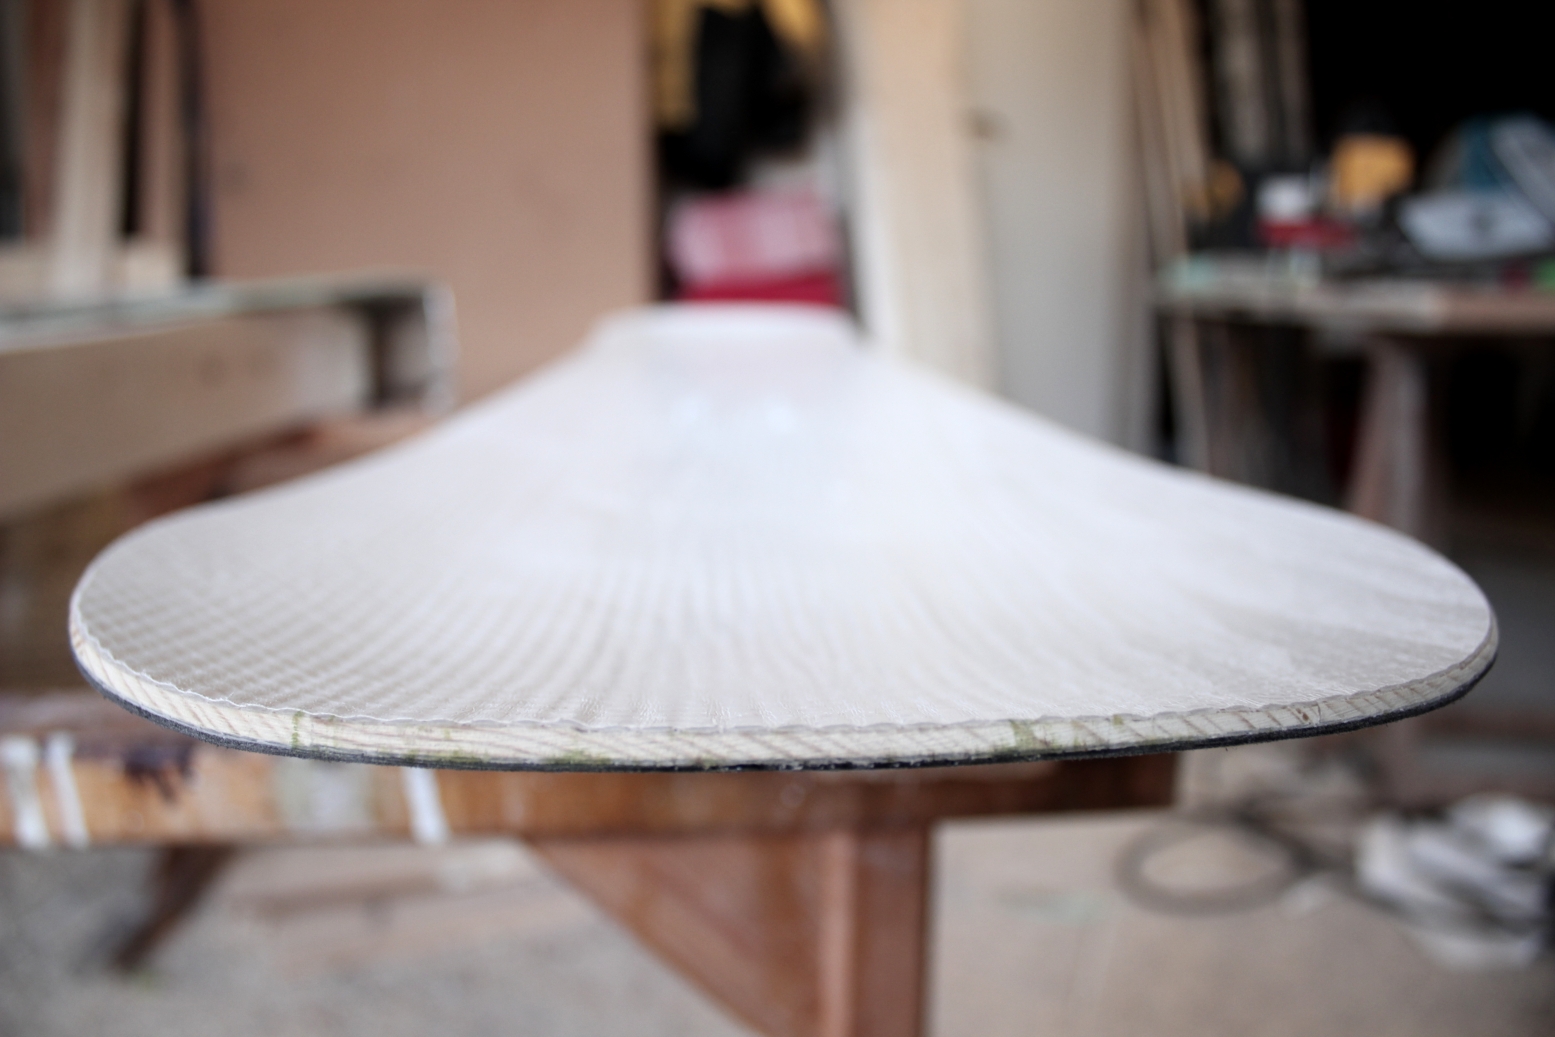
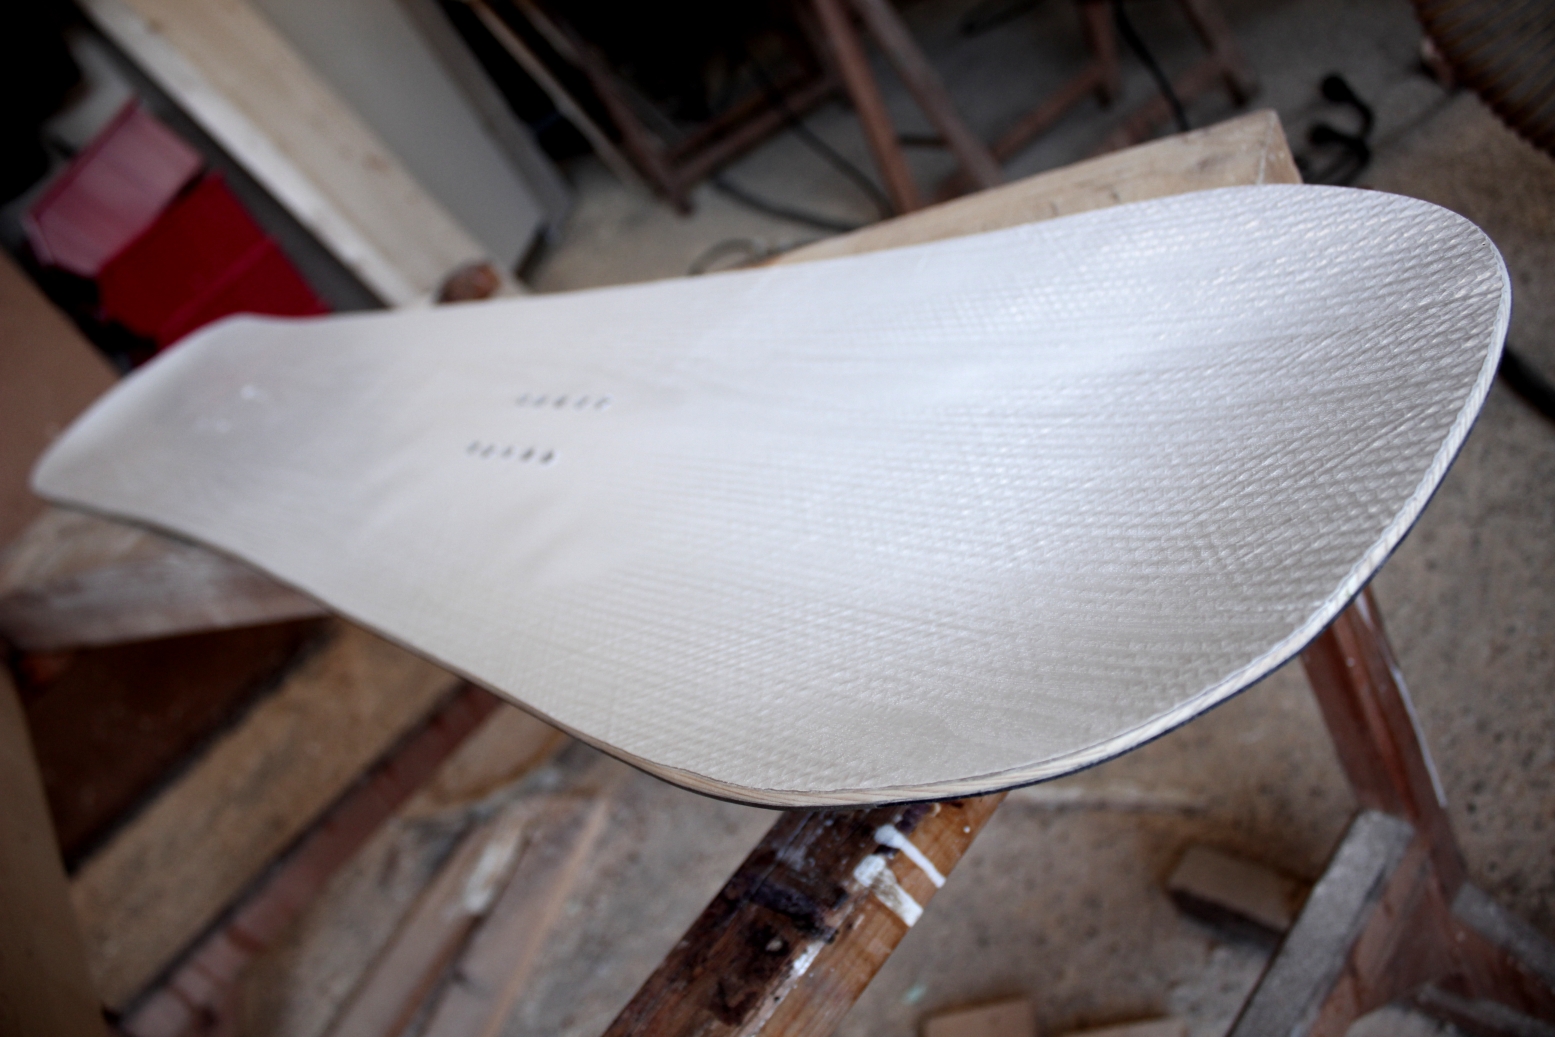
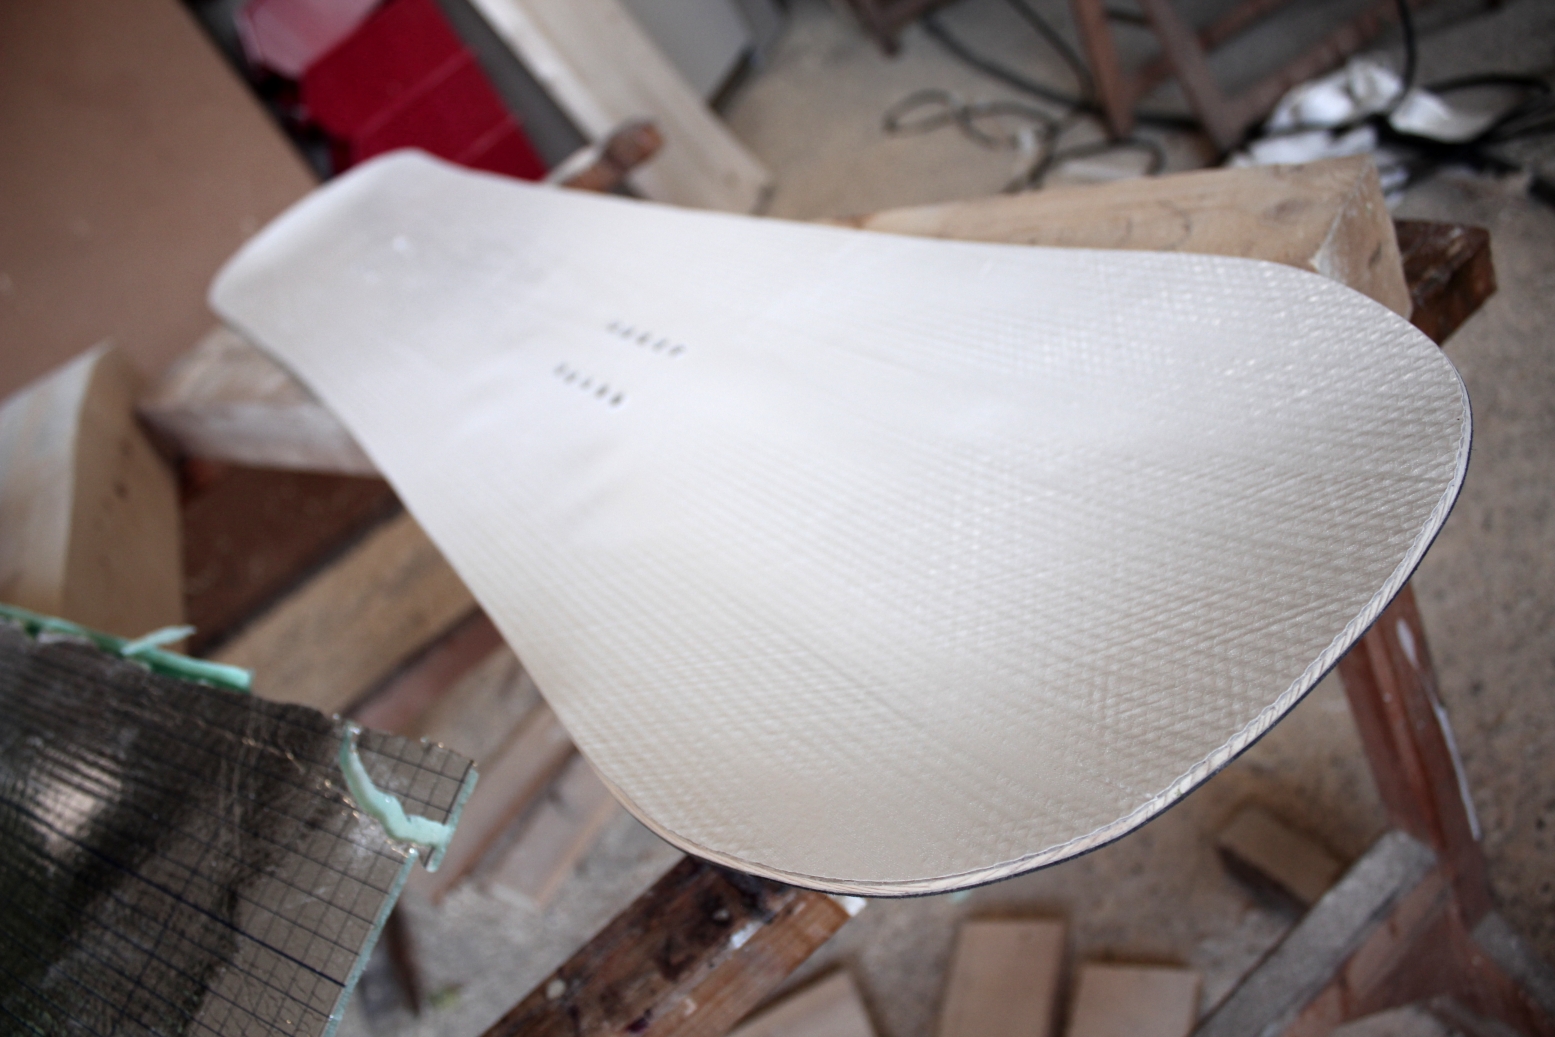
I wanted the final board to have an extreme overstated „triple base“ or „concave“ shape on nose and tail with classic camber underfoot. Additionally, I added frostbite edges for more grip on ice.
The Press
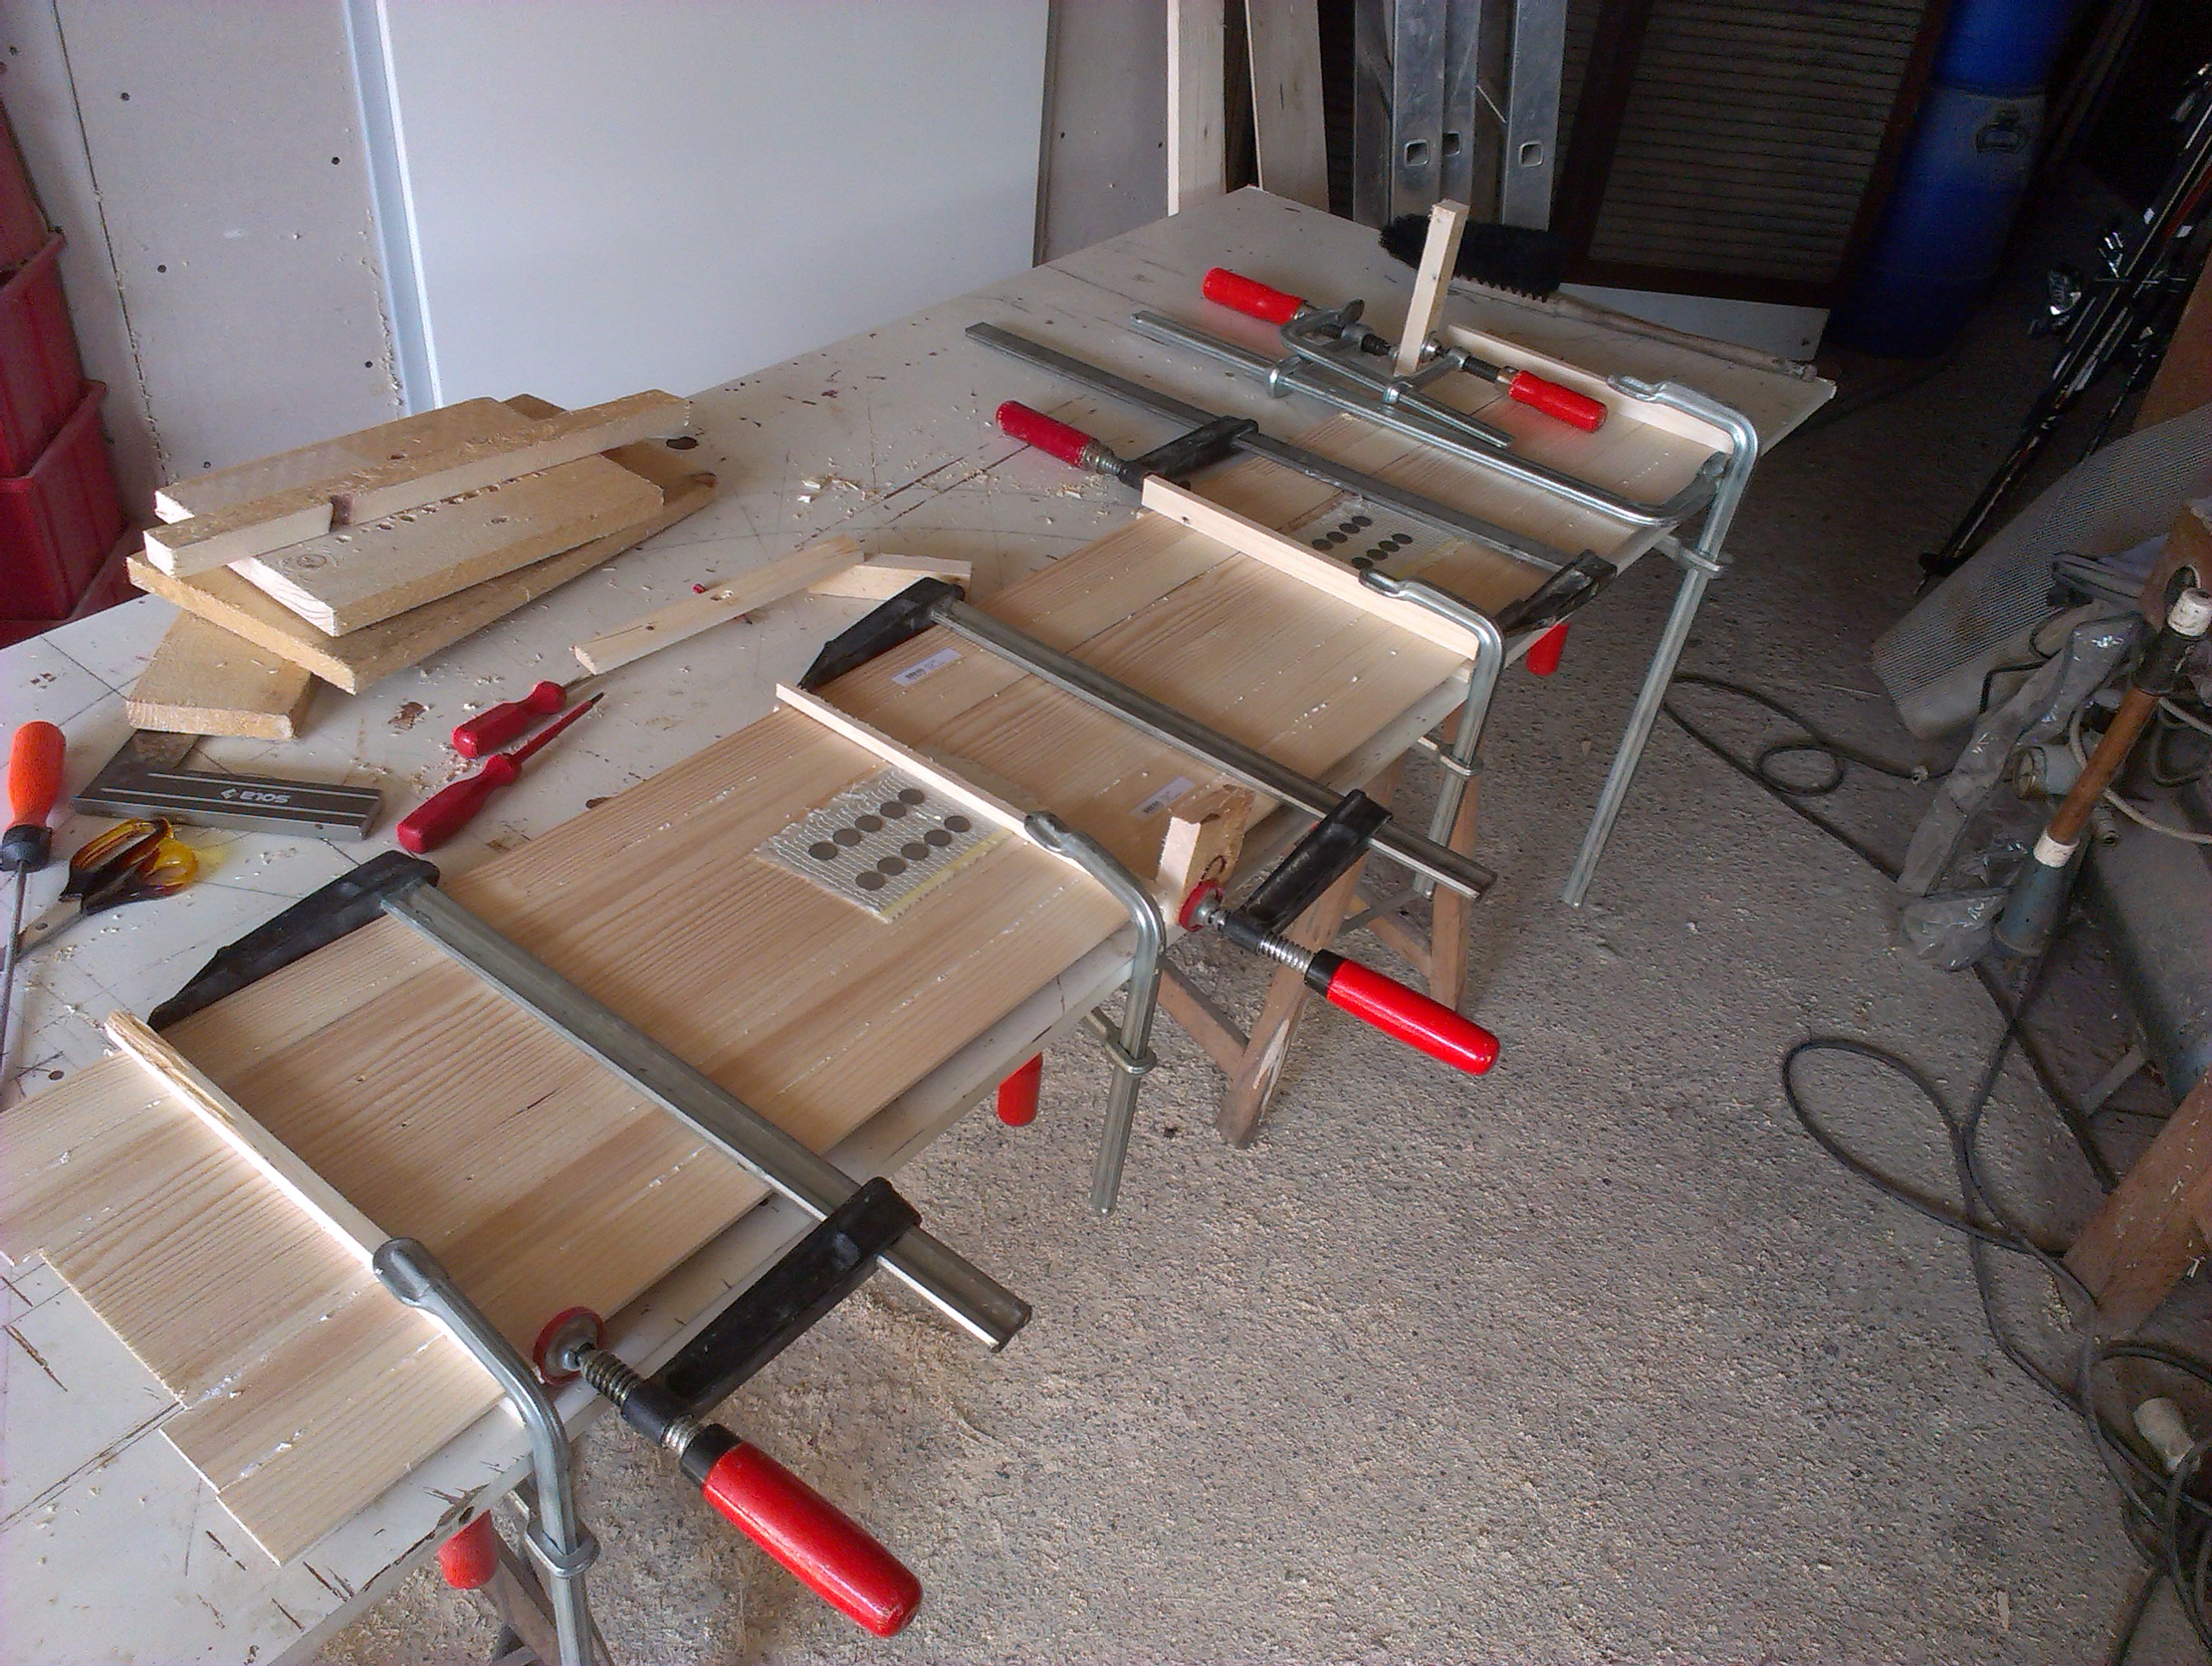
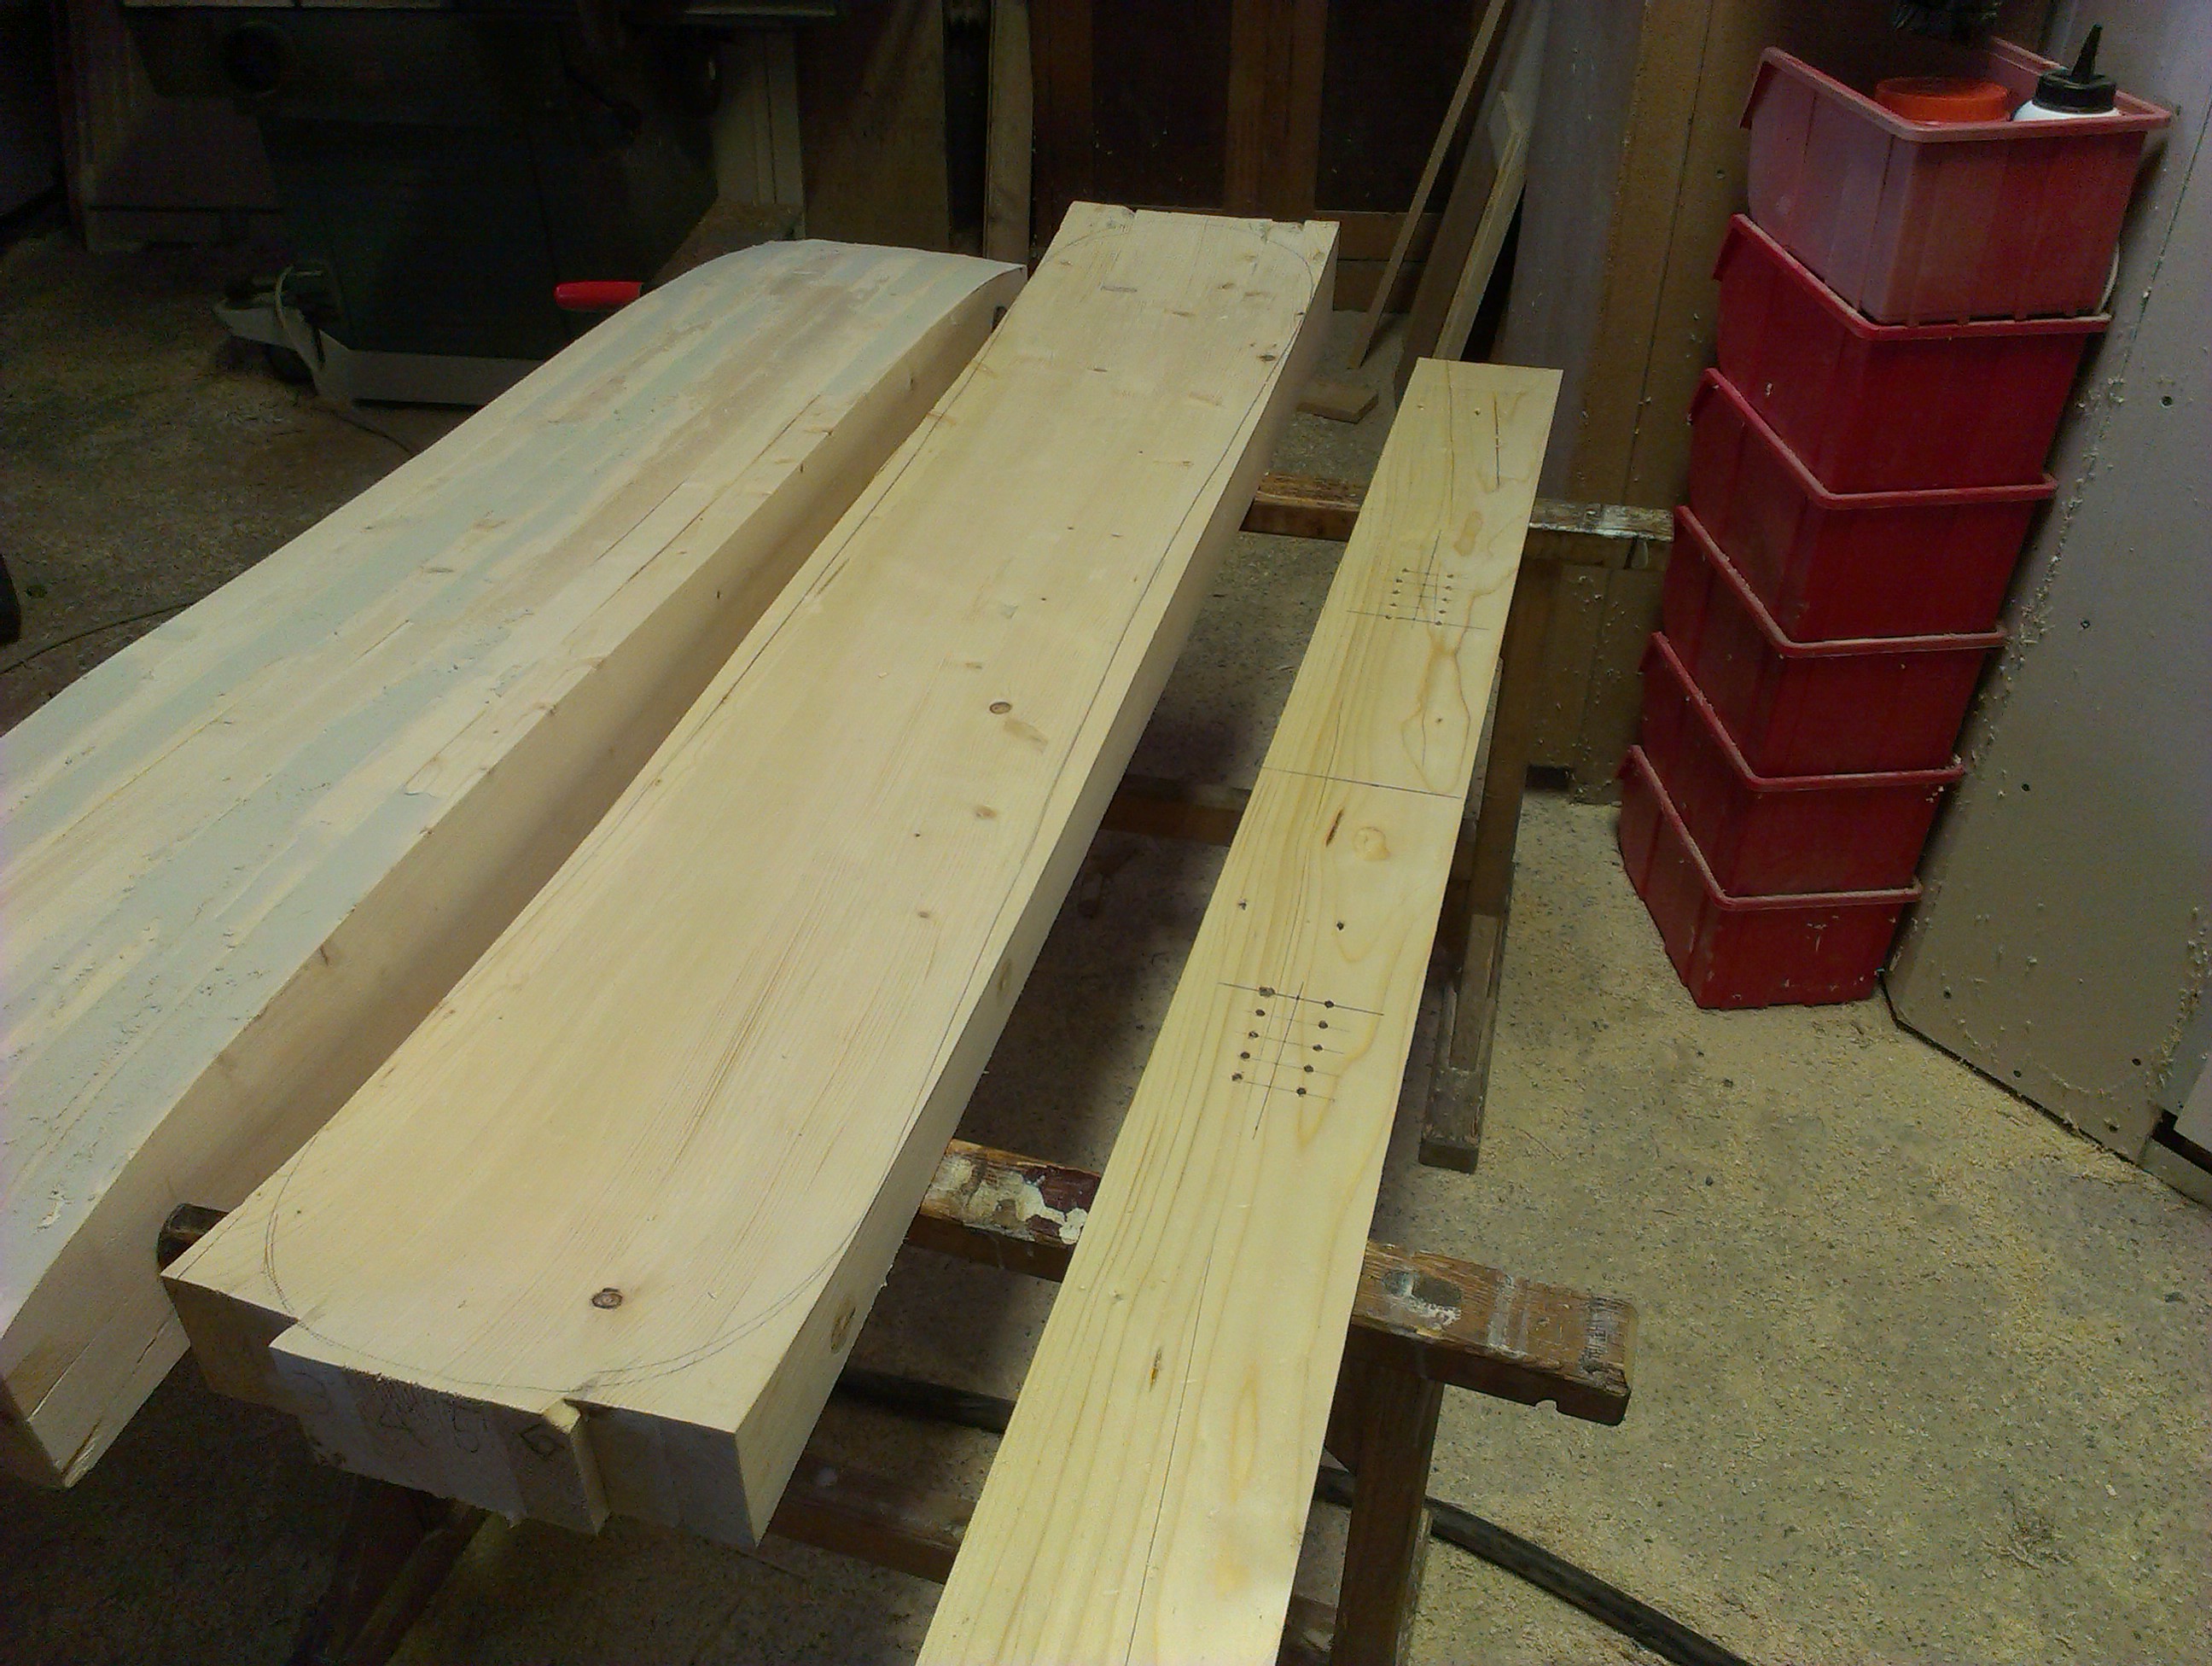
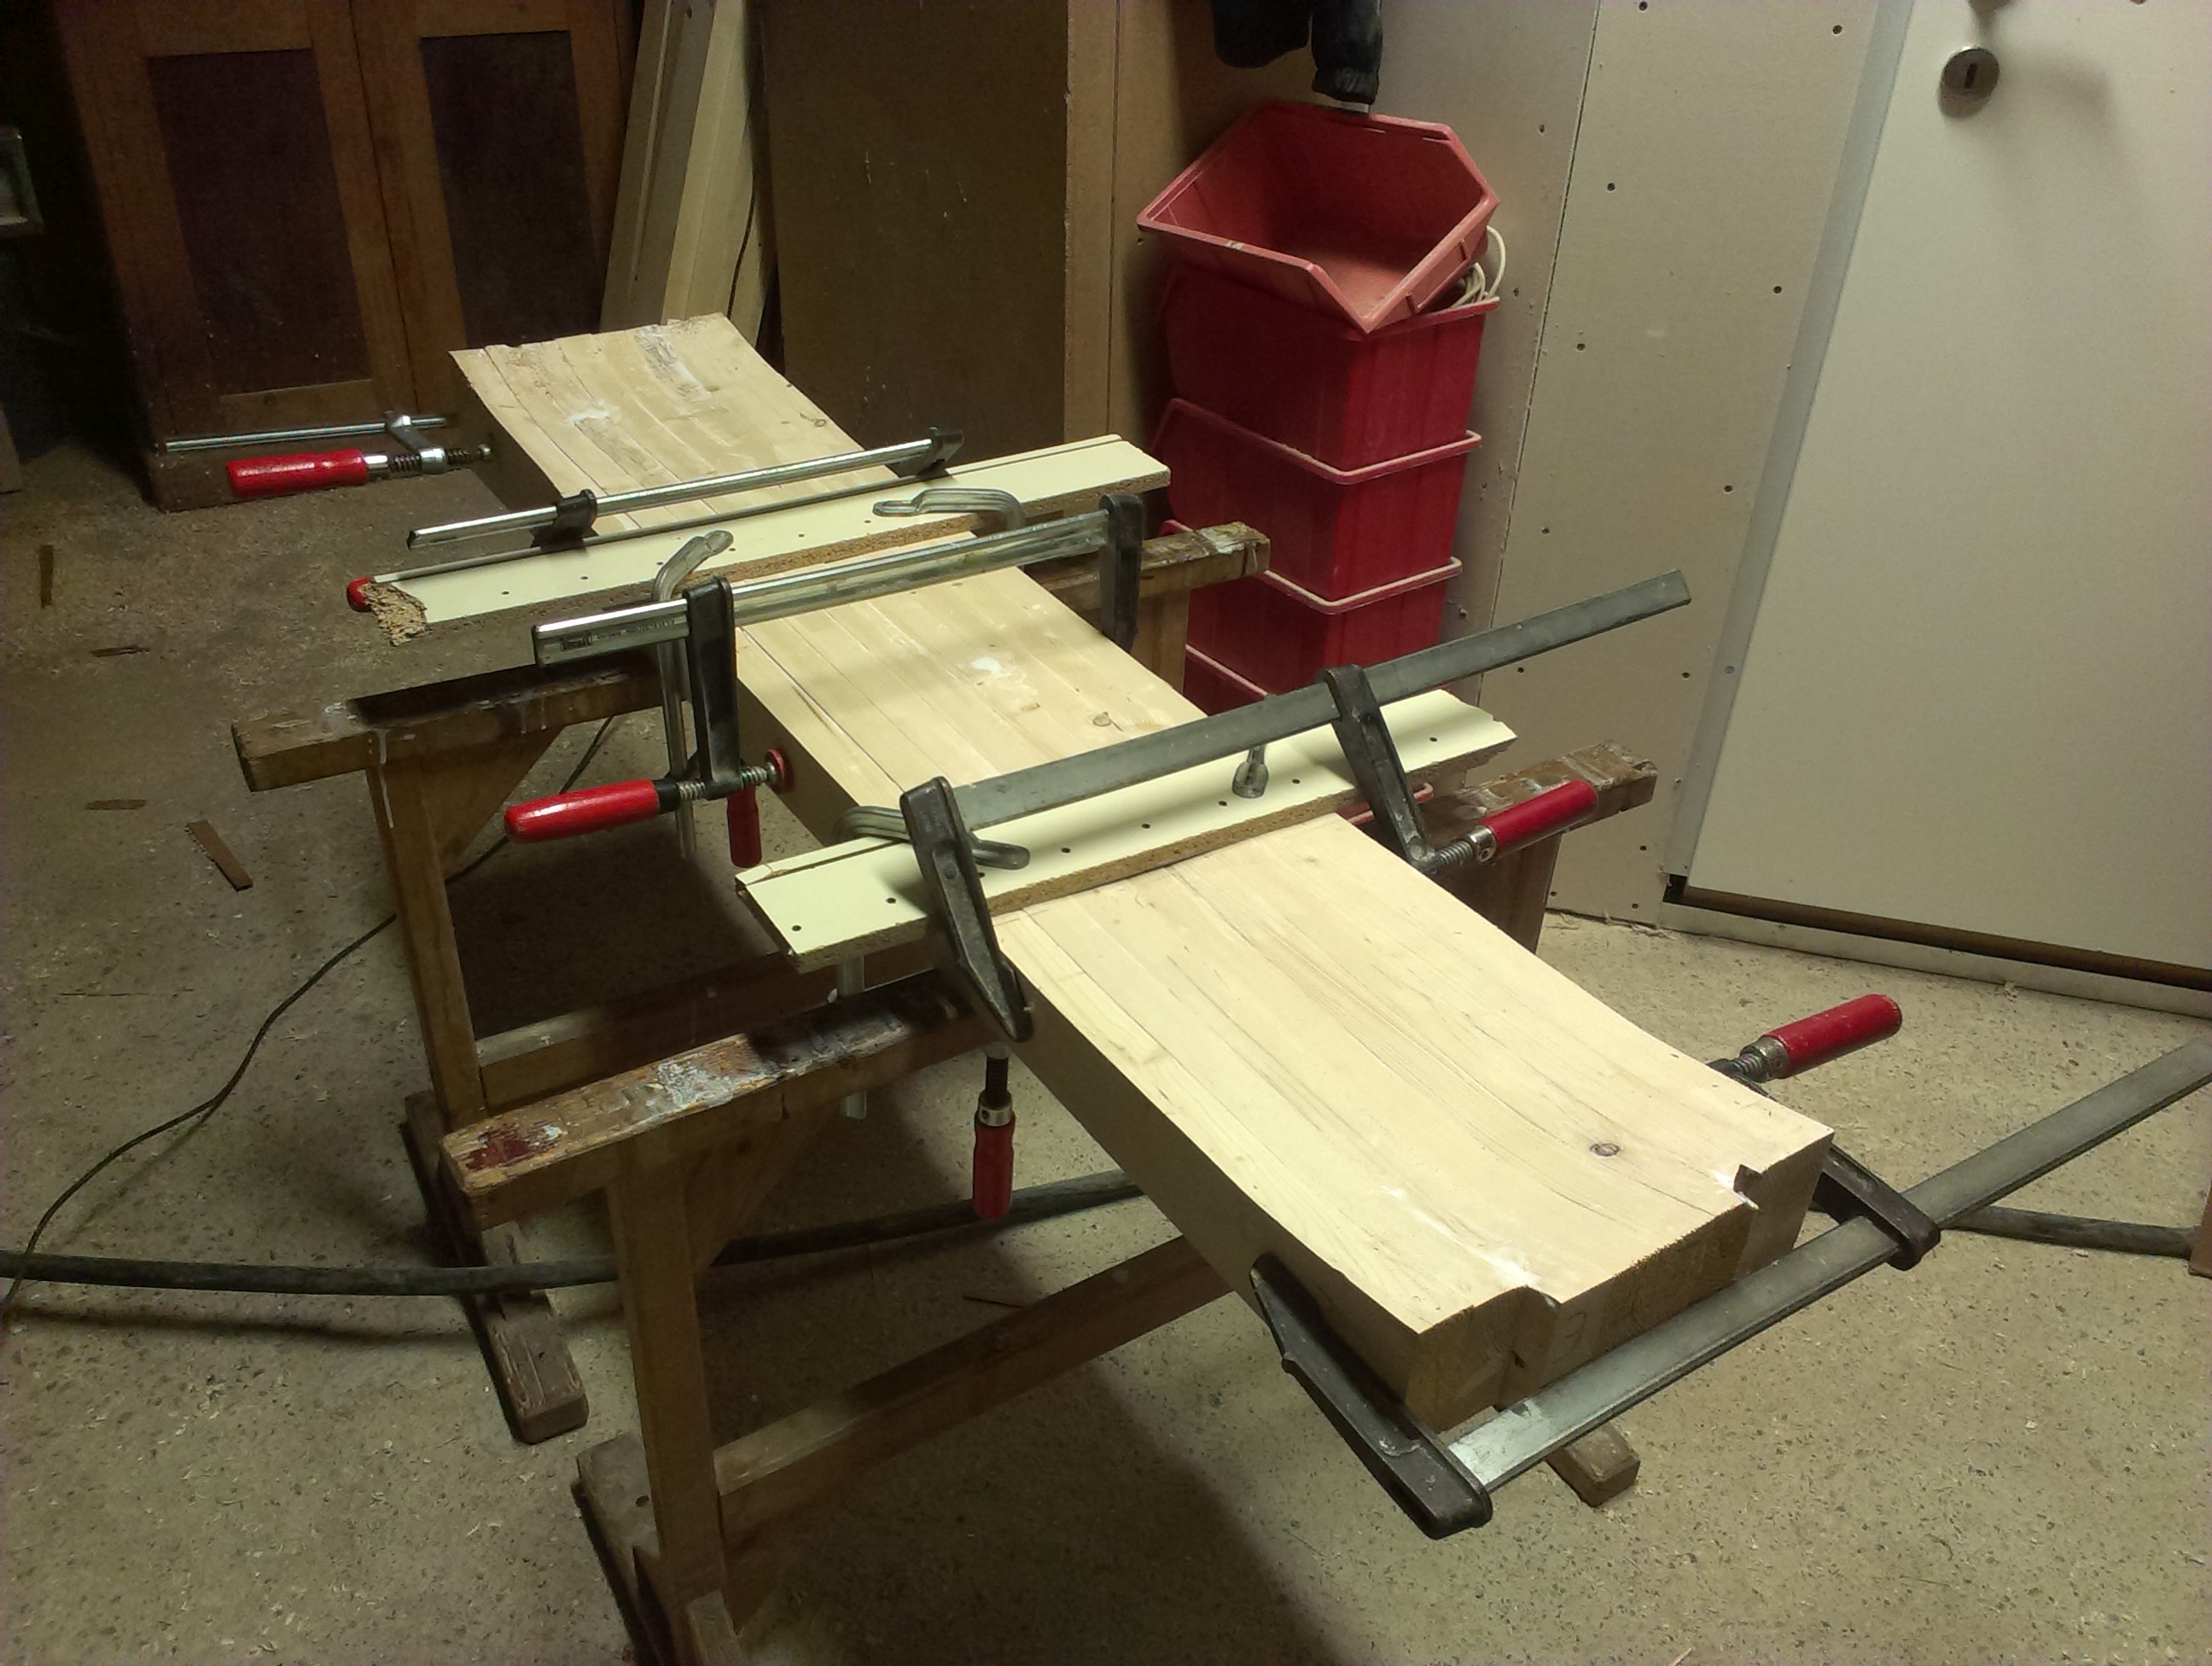
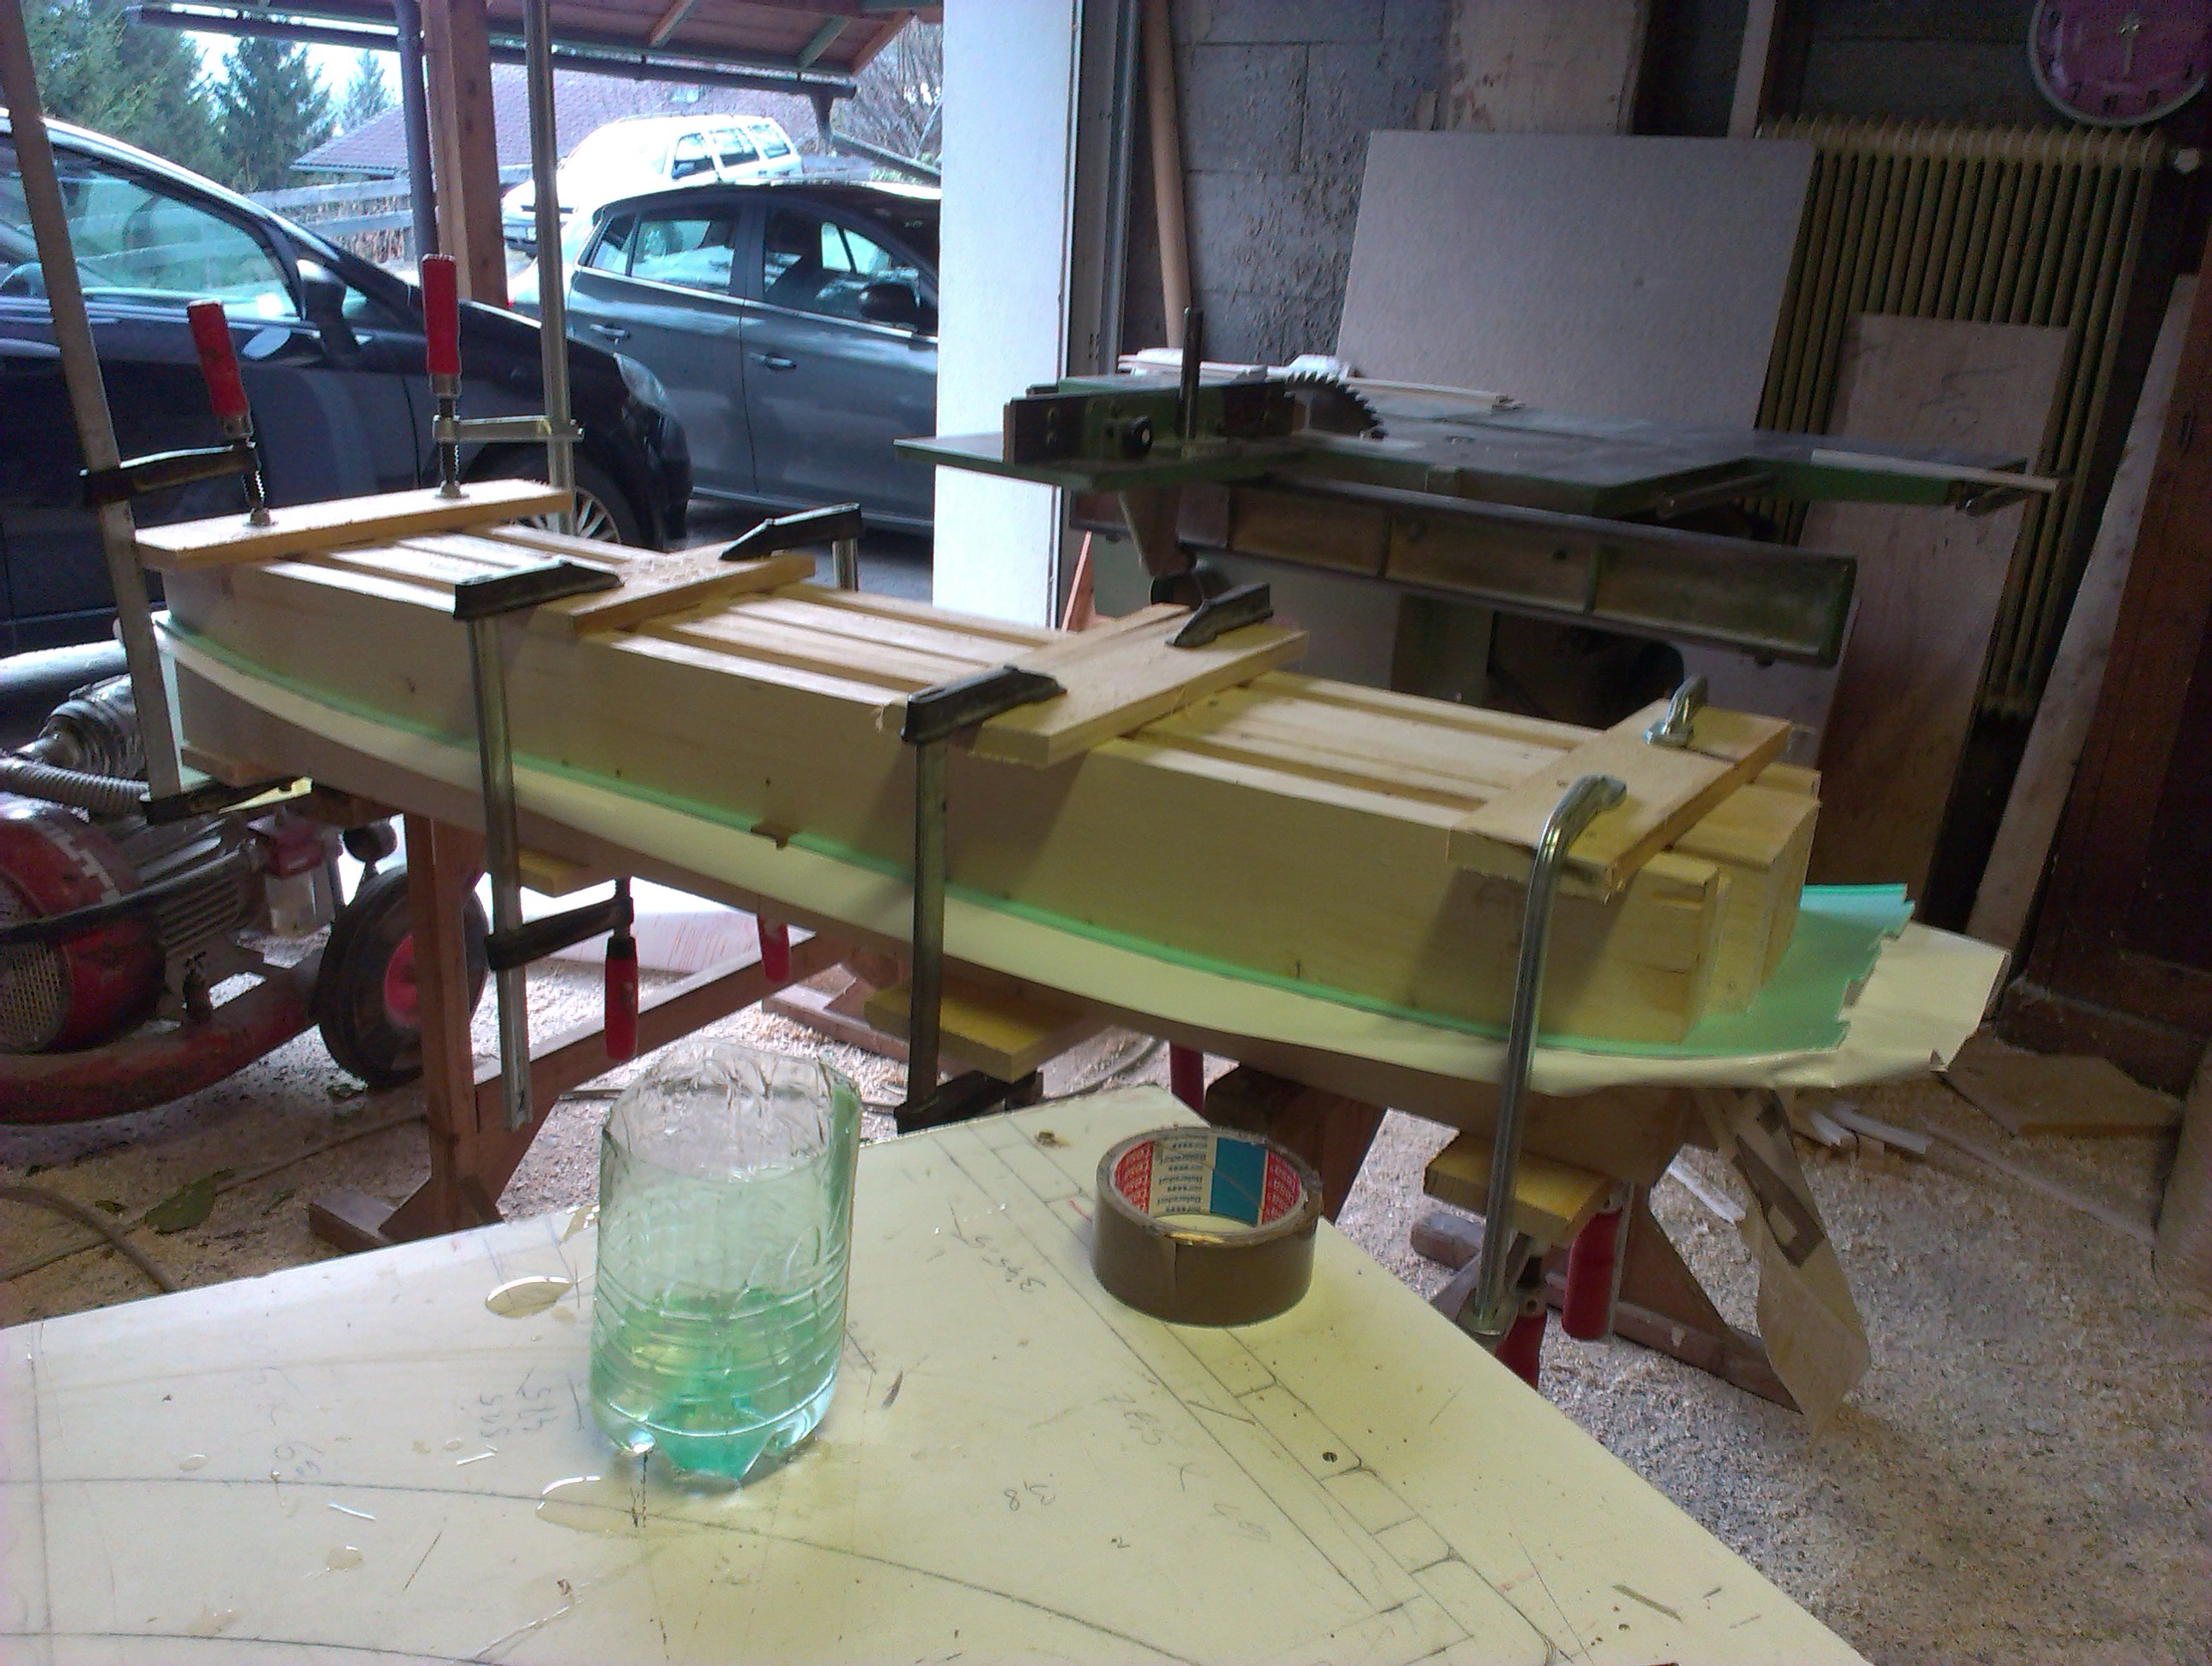
At first you’ll need a press, that means a good mold of the final board. In my case the easiest way was to make the two parts out of wood. So I bought 8 pieces of wood, (4*30*150 cm) drew a rough shape of the boards pretension on every piece, cut it out and glued everything together. Now to the time consuming part, the sanding. It is very important that both parts of the press fit perfectly together or the final board will be twisted or crooked.
The Board
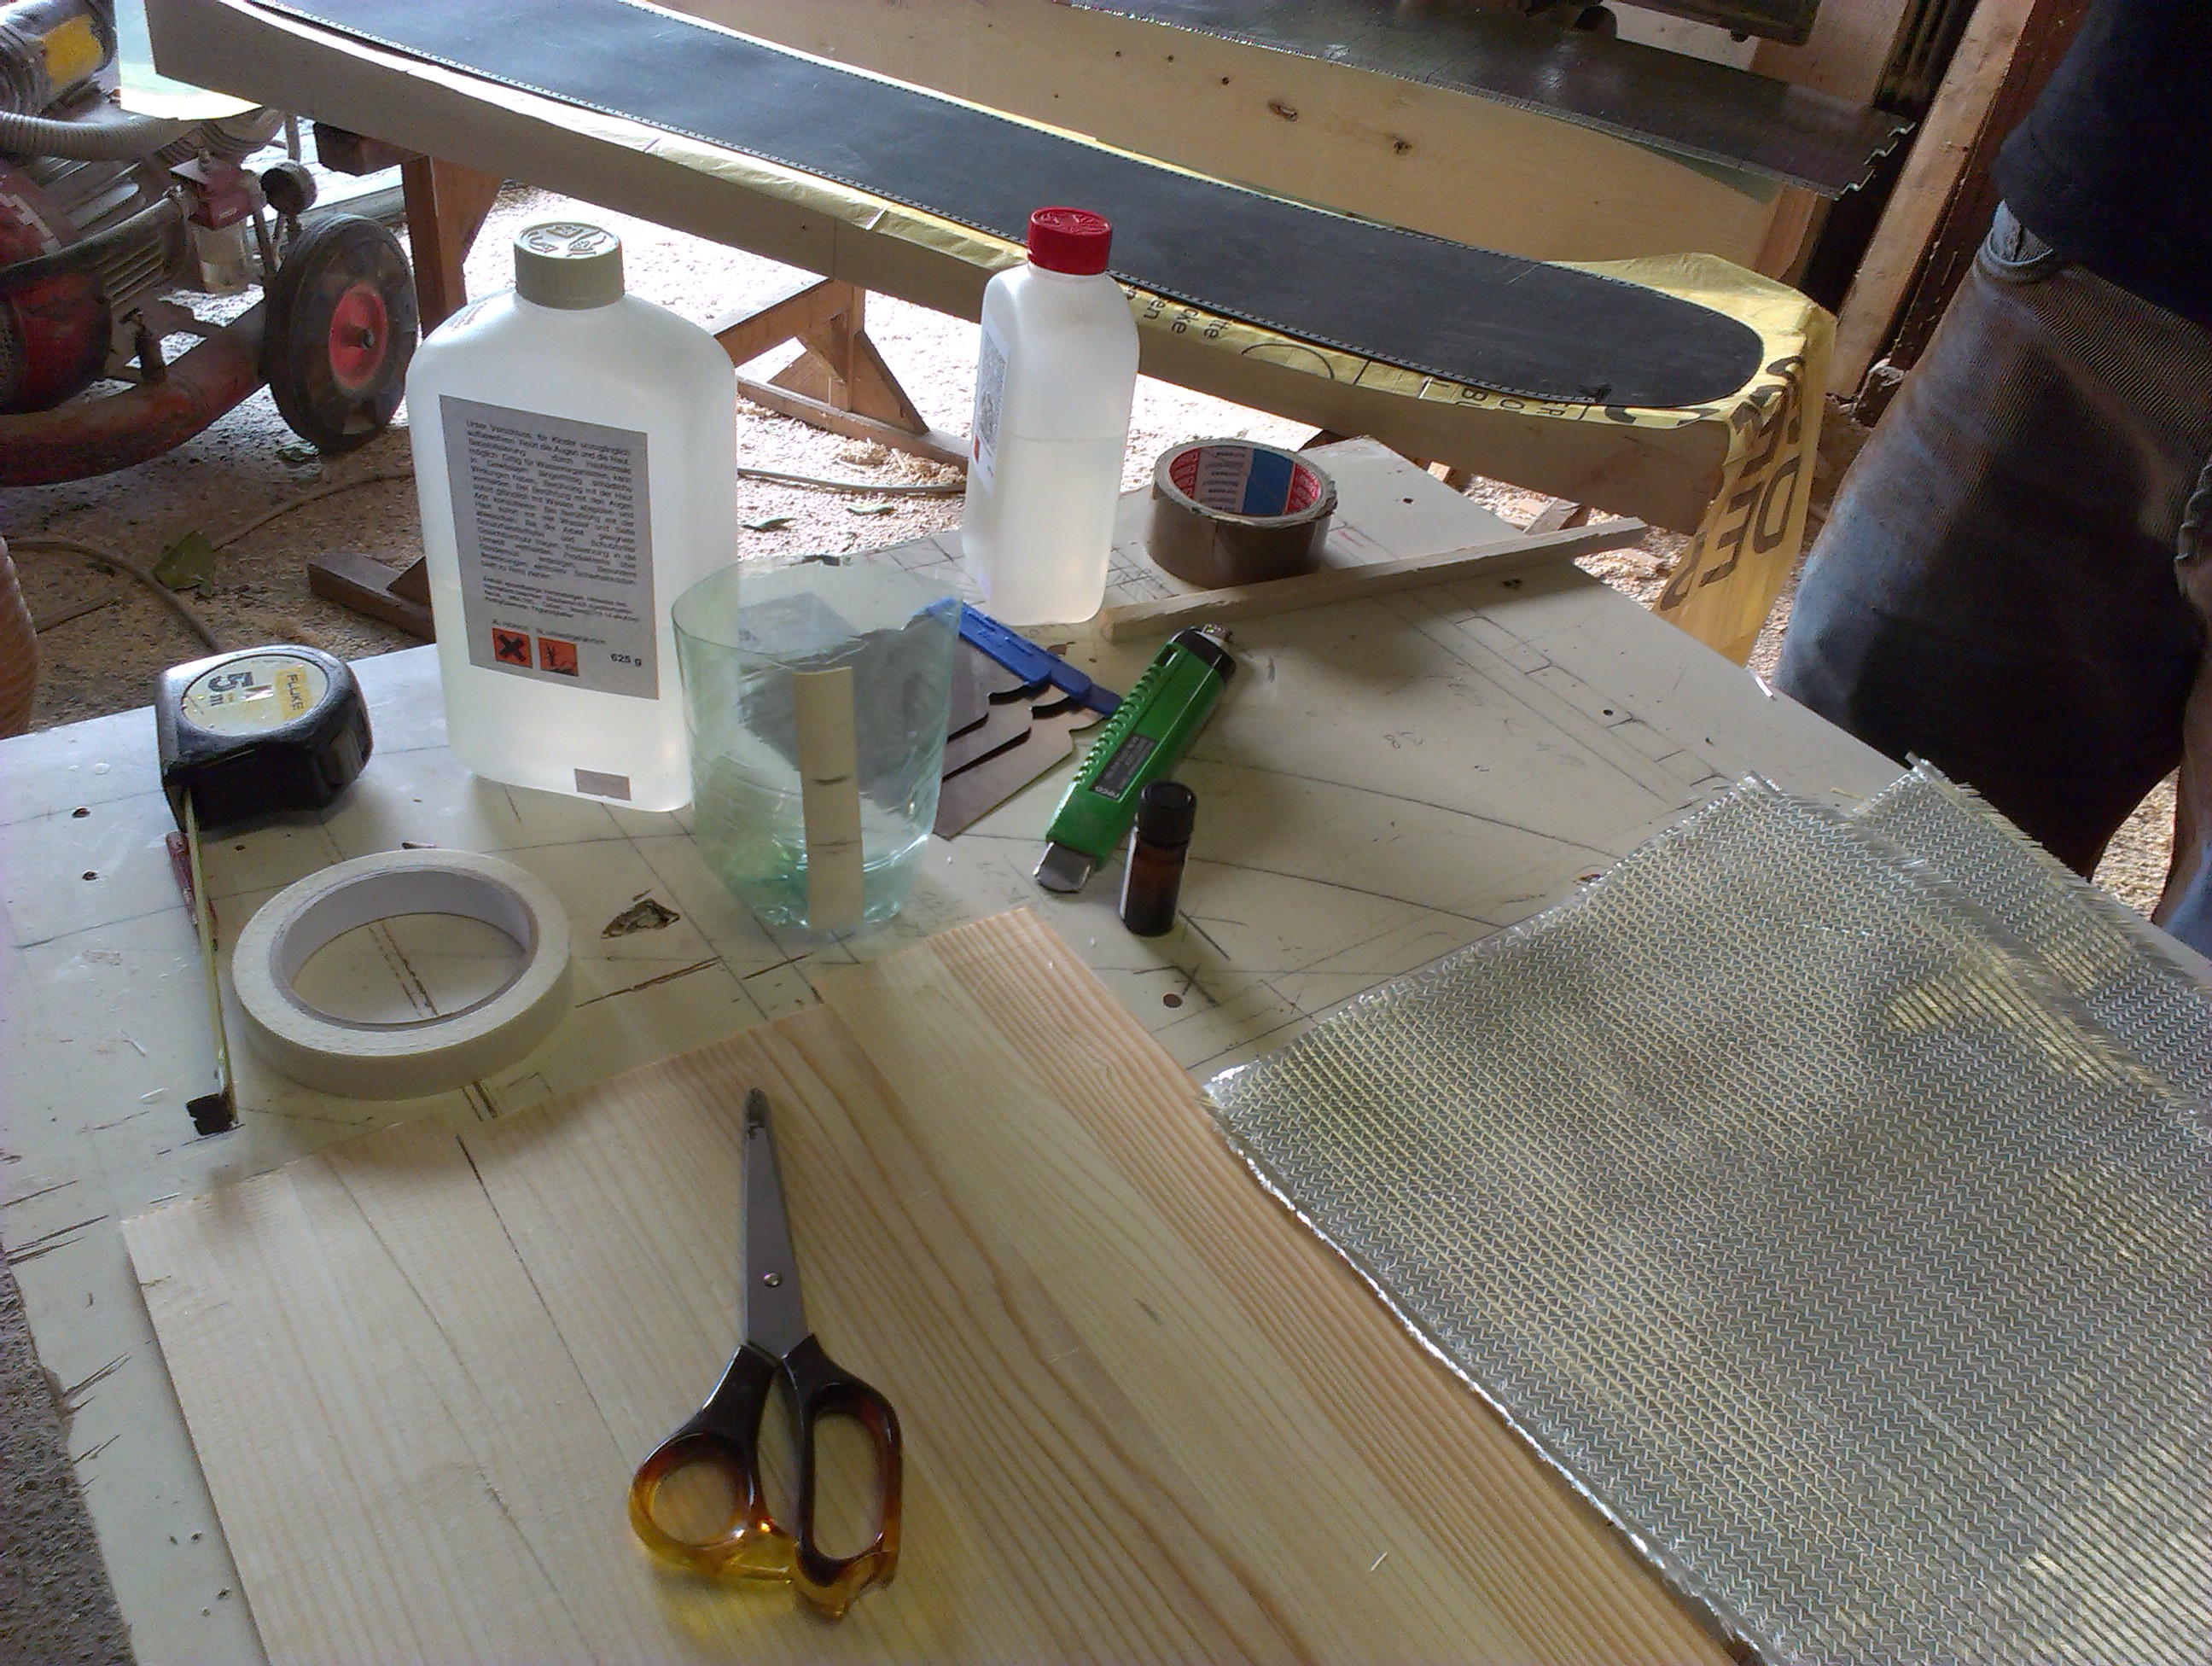
For the final snowboard, I decided to go for the classic „Sandwich“ construction. That means layering each component and putting everything in the press like so:
*Topsheet (some kind of white plastic mat) *Triax Fiberglass *Woodcore with inserts (spruce wood=) *Triax Fiberglass *Baseplate with steel edges (sintered)
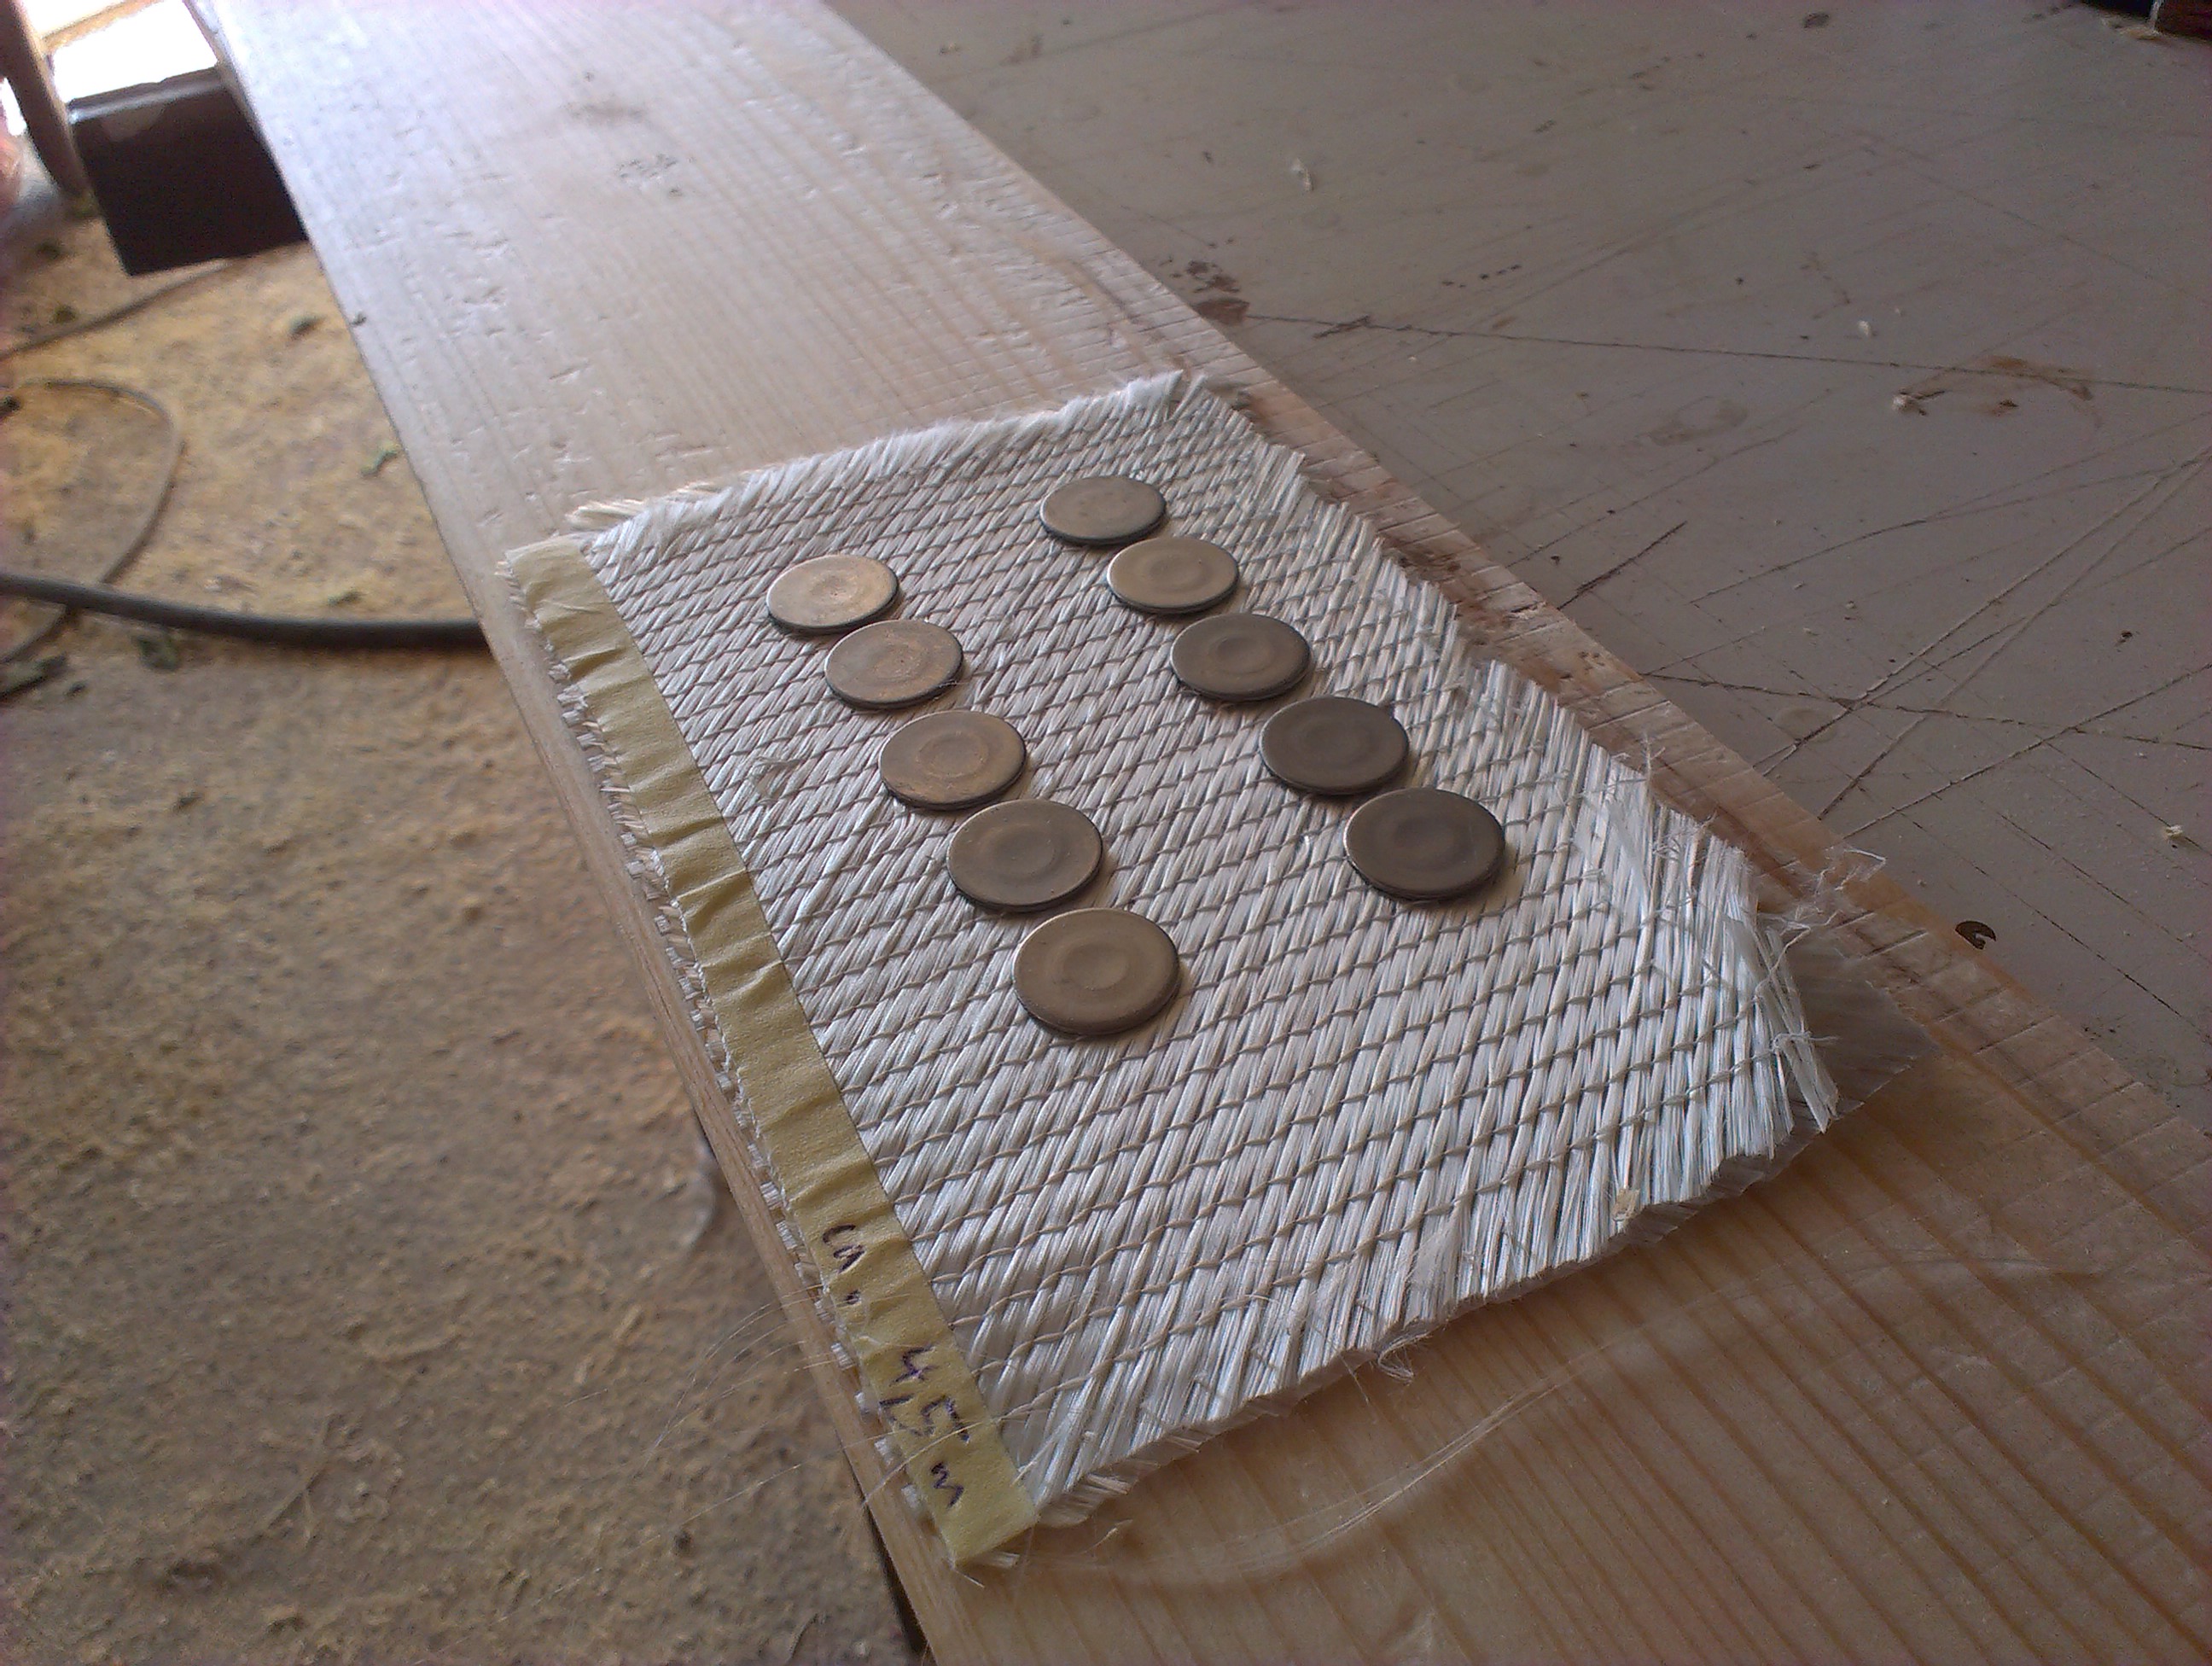
The wood core consists of a 13 cm stringer and four 4,5cm wooden strips glued together. No plastic sidewalls! I wanted the core to be only 4 mm thick so that the final board comes out thin, light and flexible.
A small piece of fiberglass between wood core and inserts should help stabilize and avoid rotation.
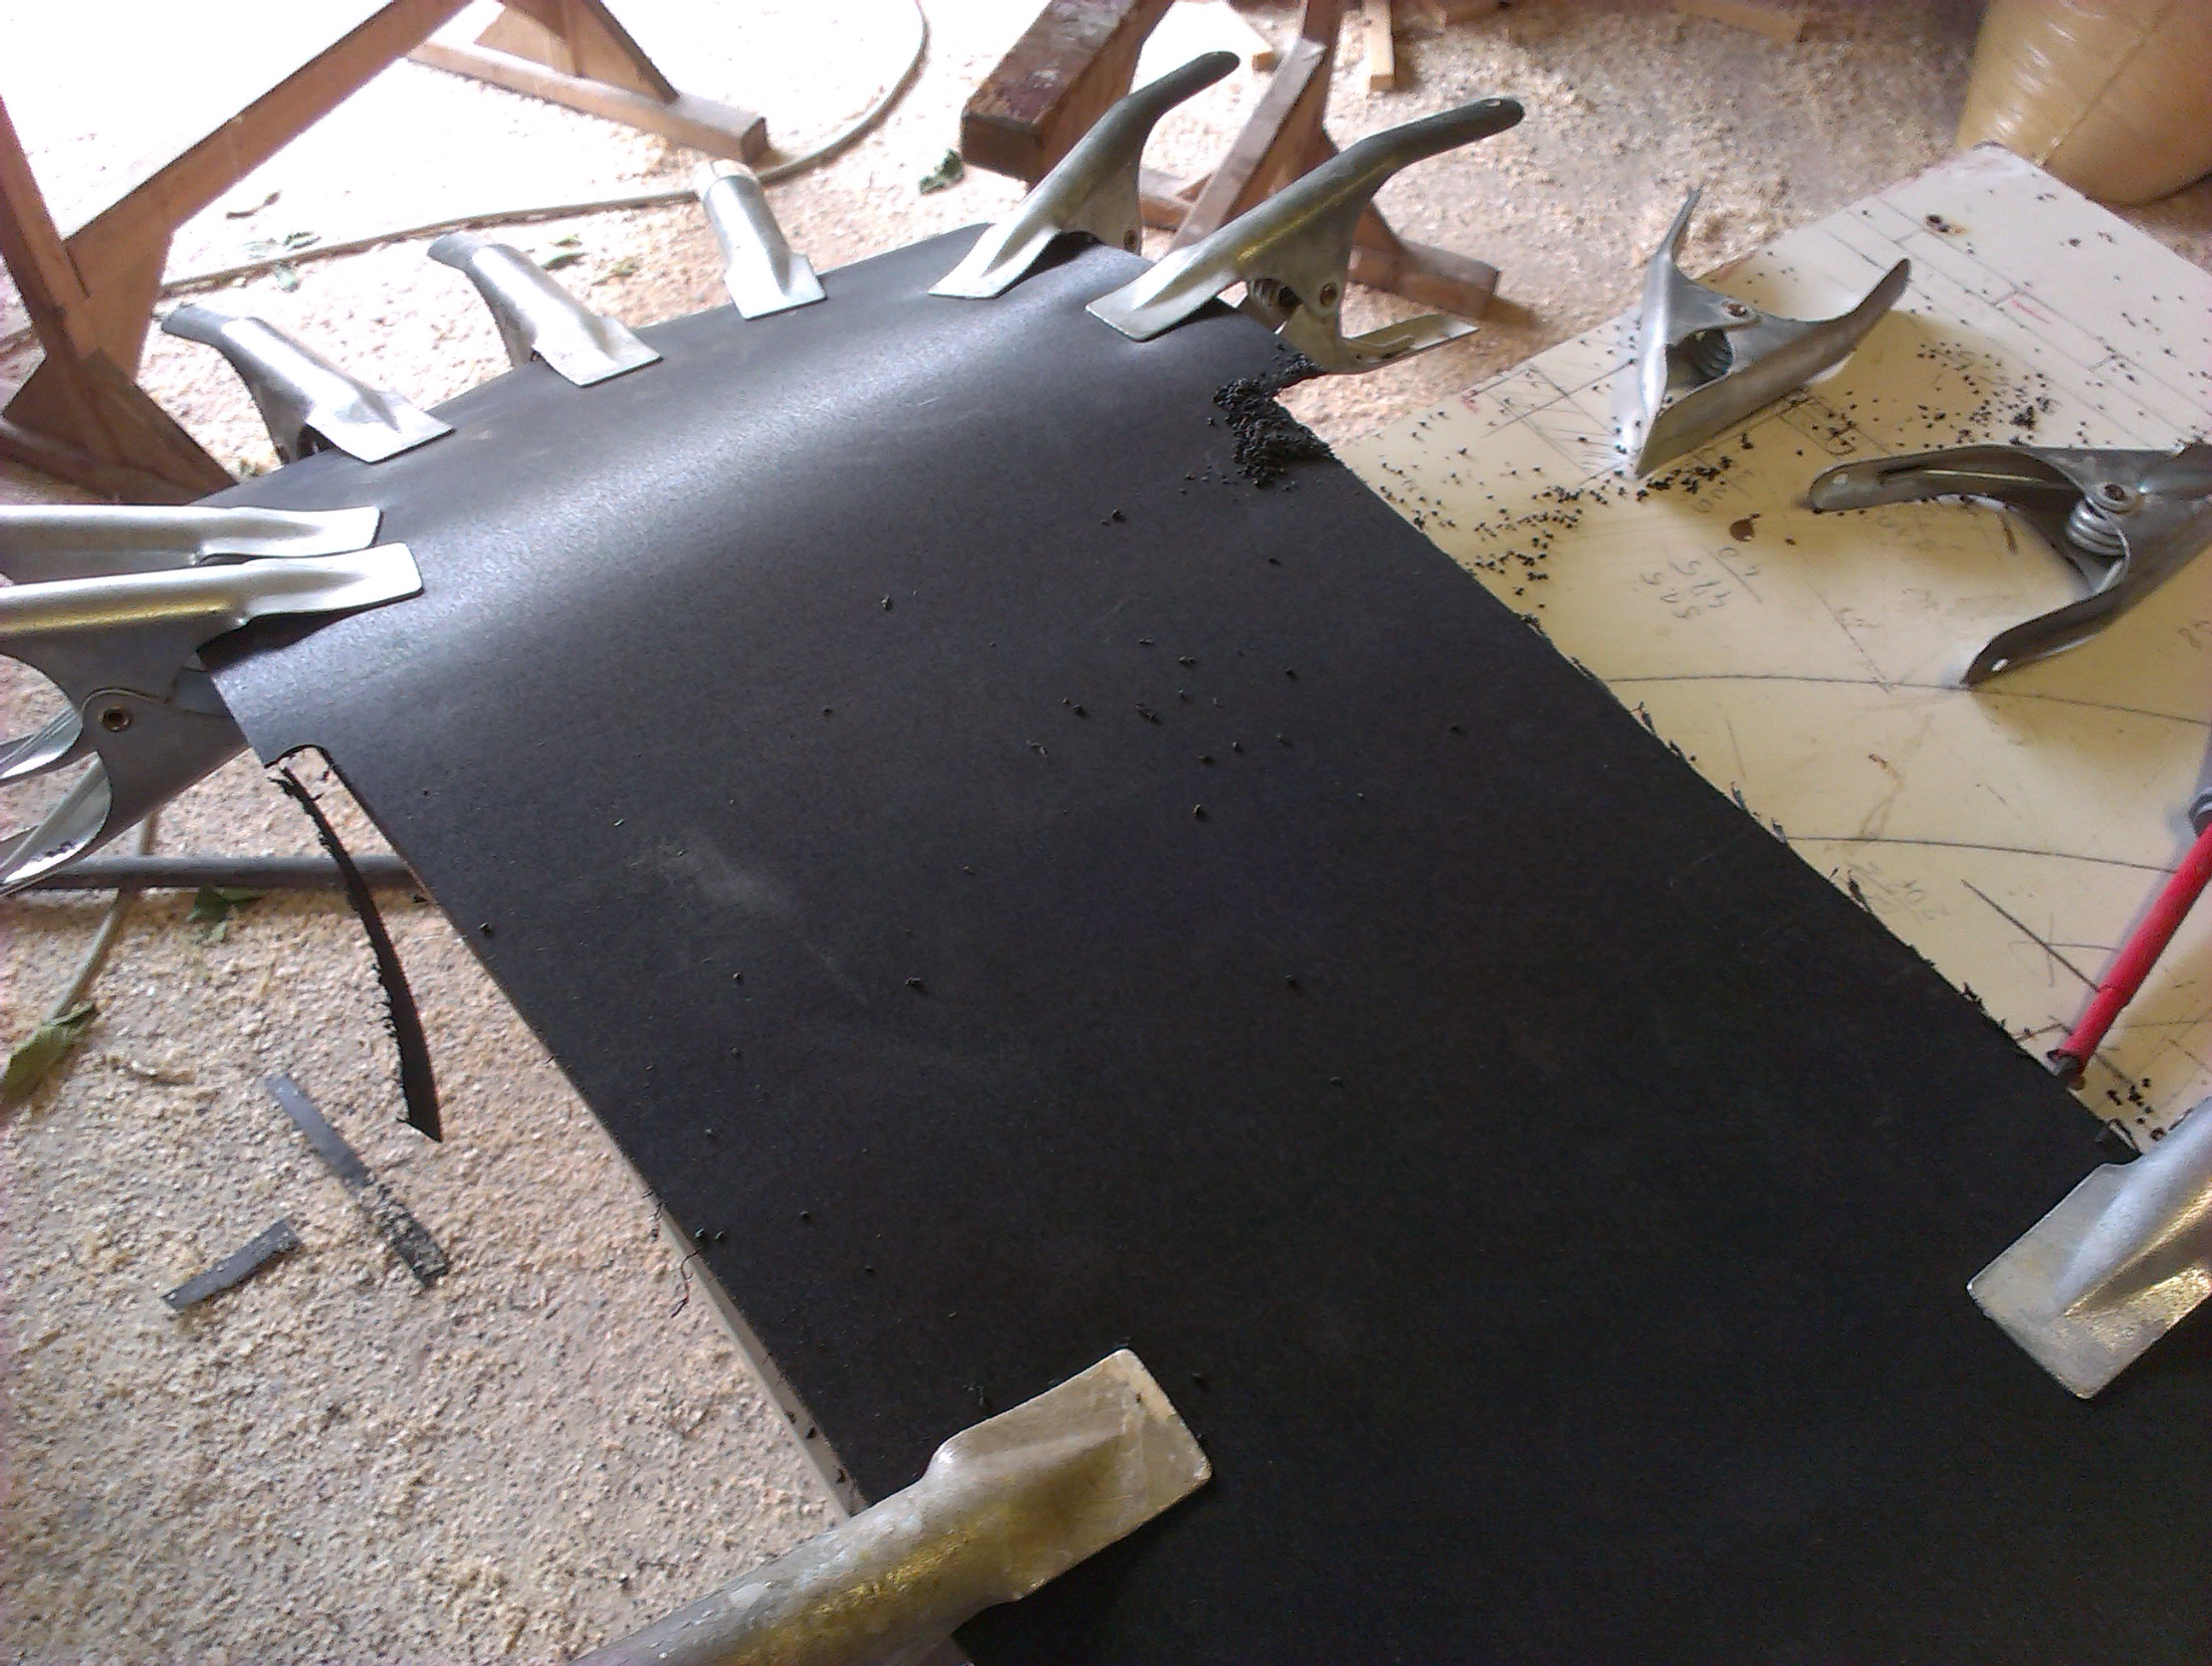
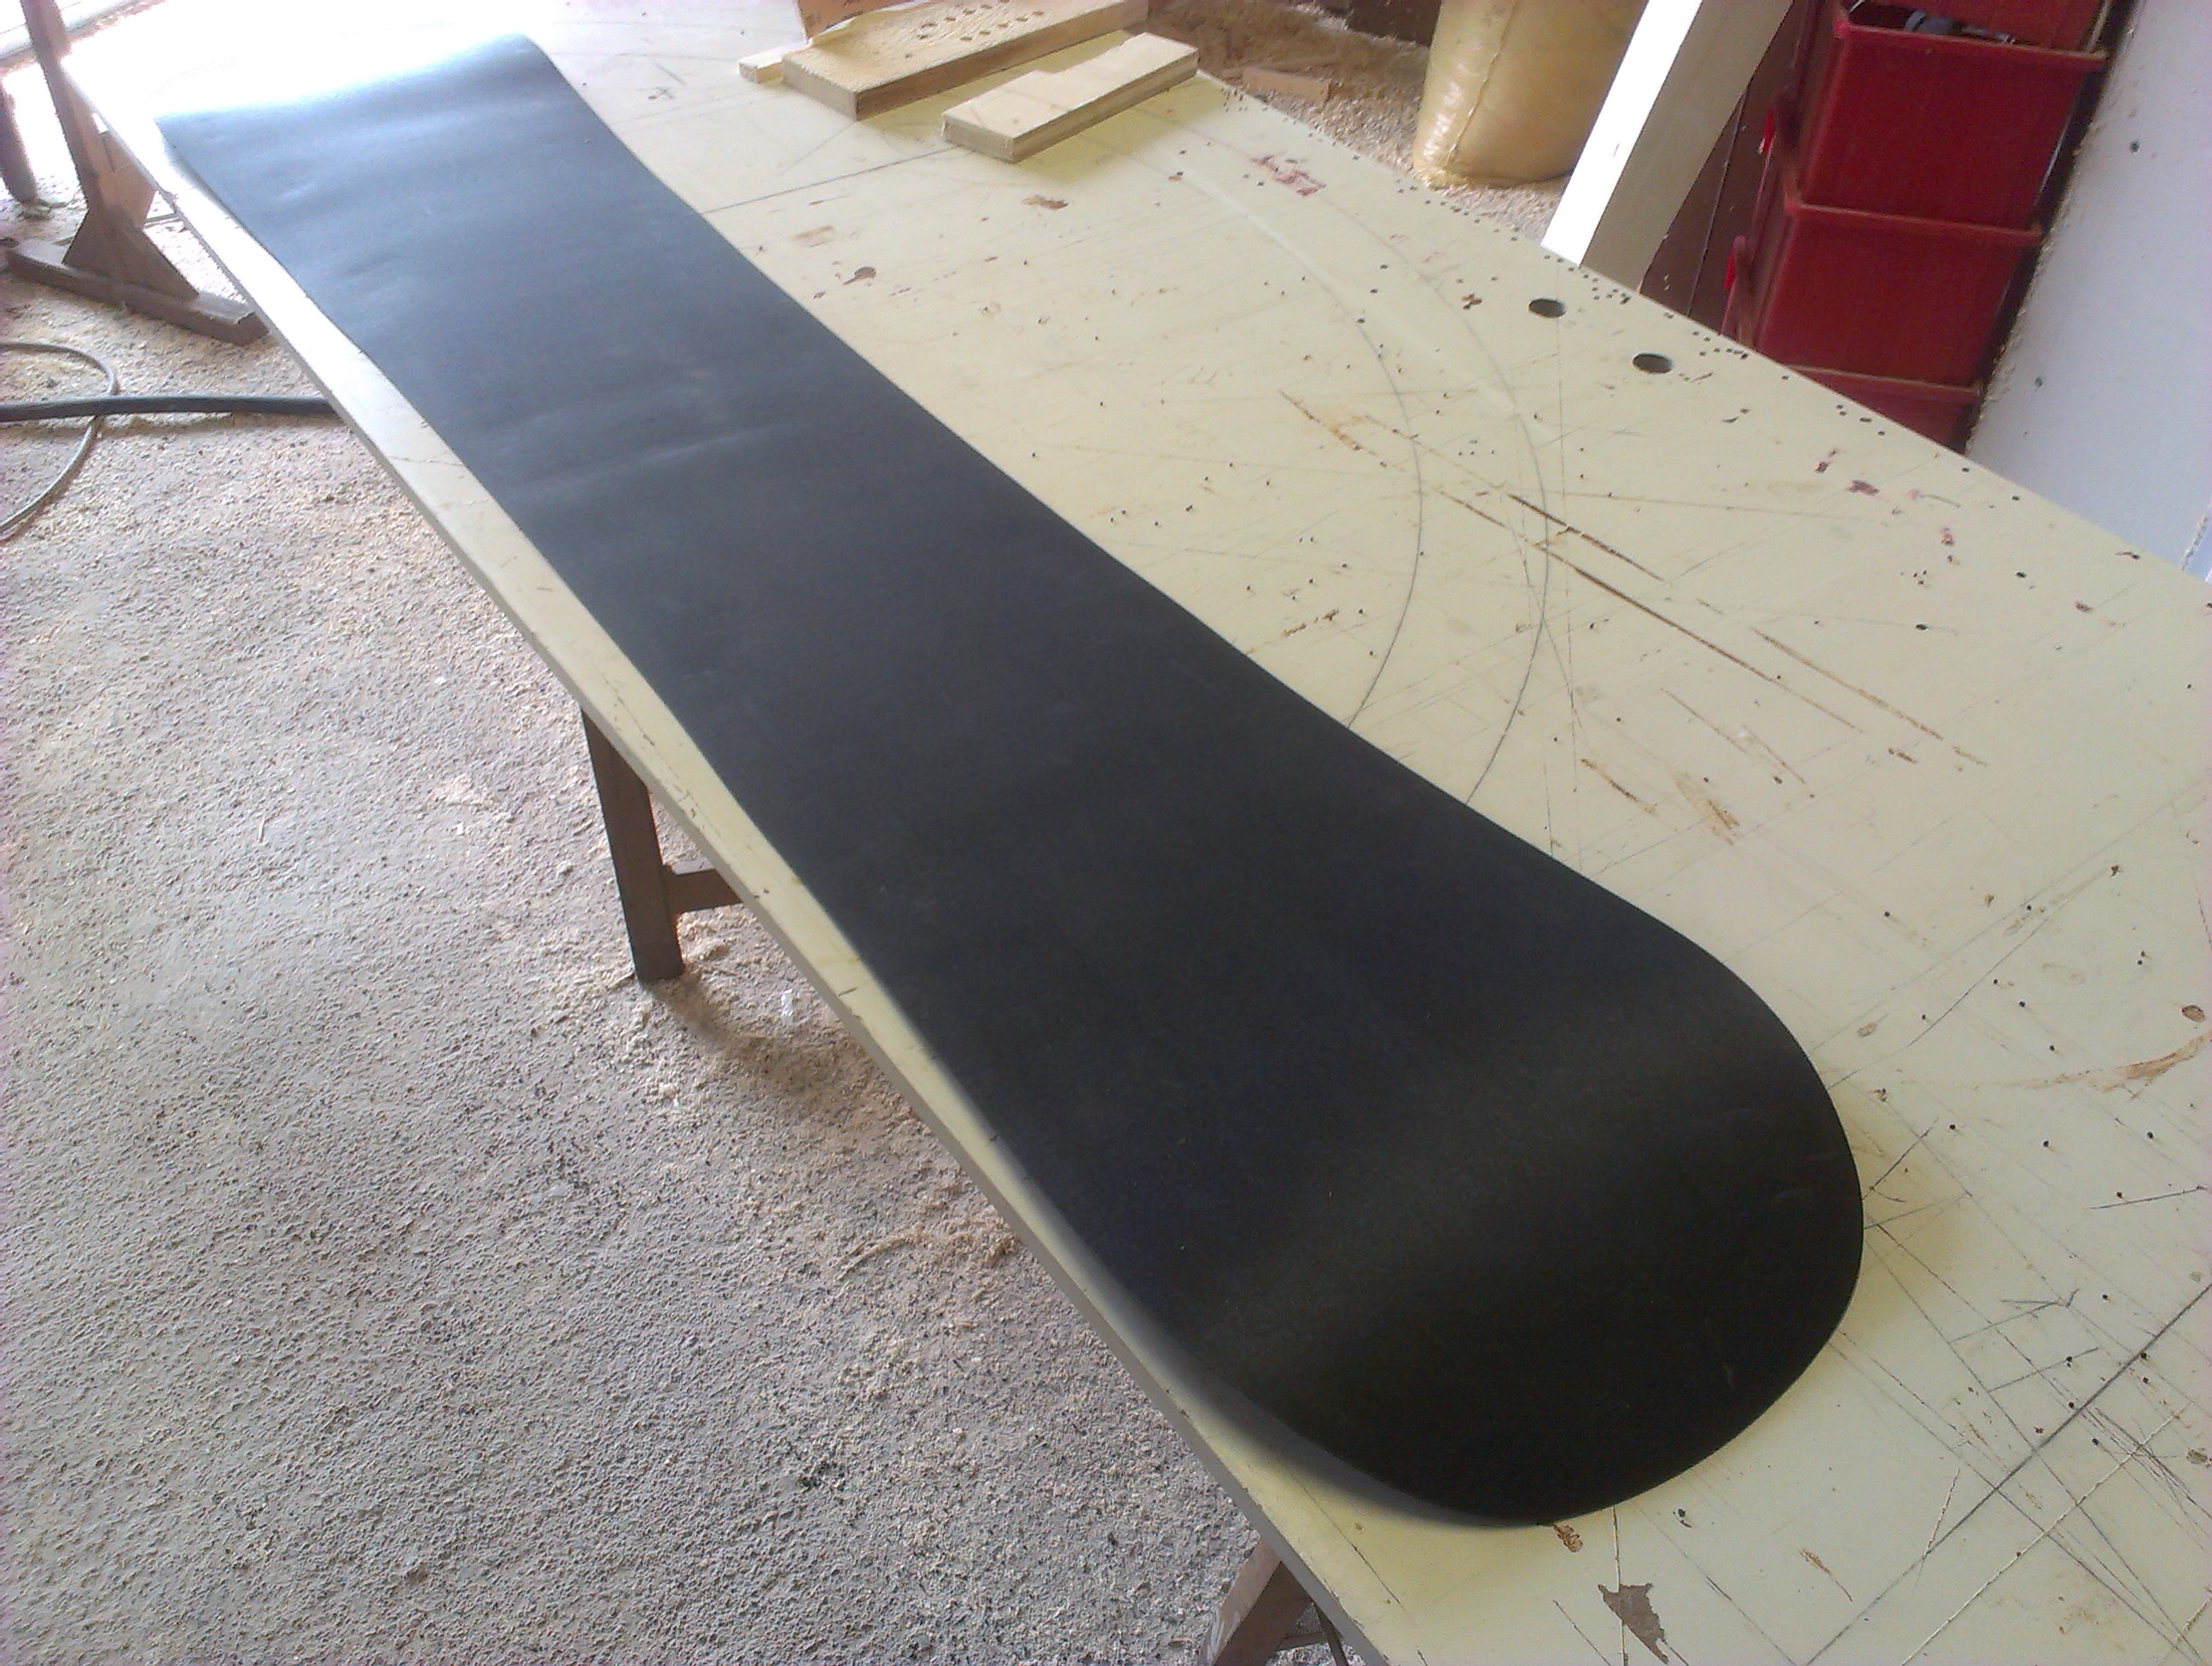
Base & Edges
After cutting out the base plate, it’s time to glue on the steel edges. Very important here is to avoid any distance between the edges and the base.
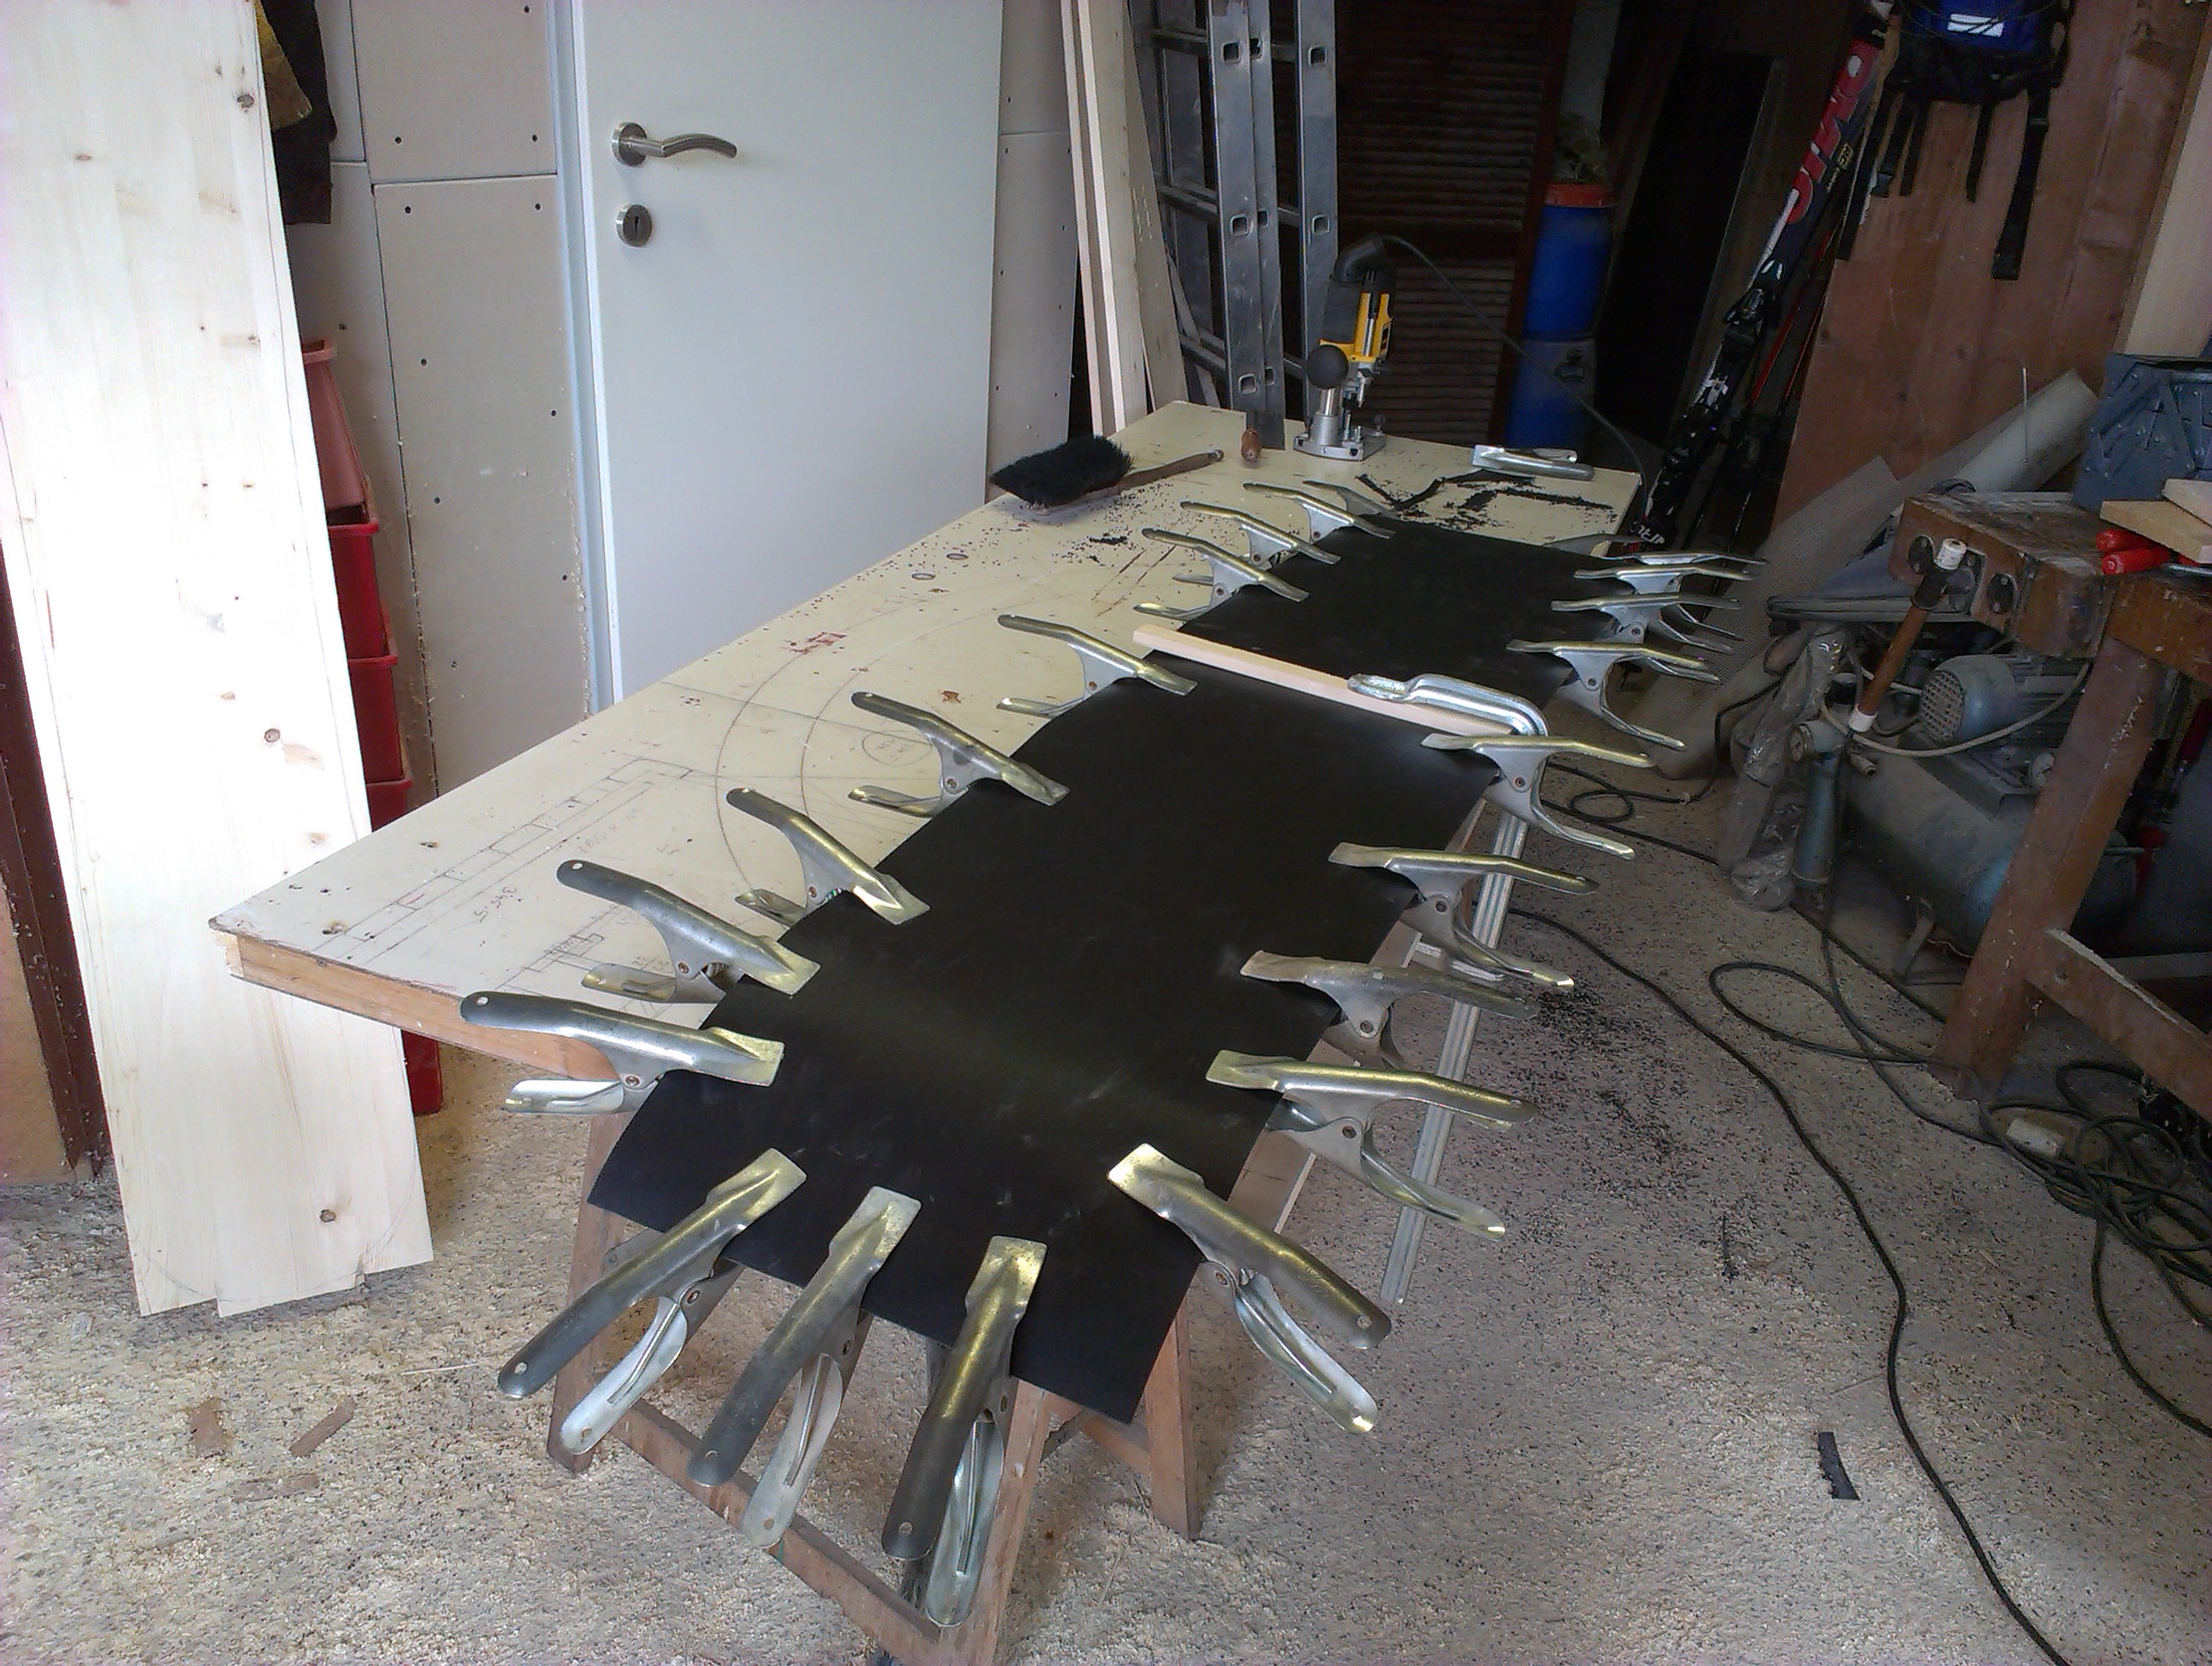
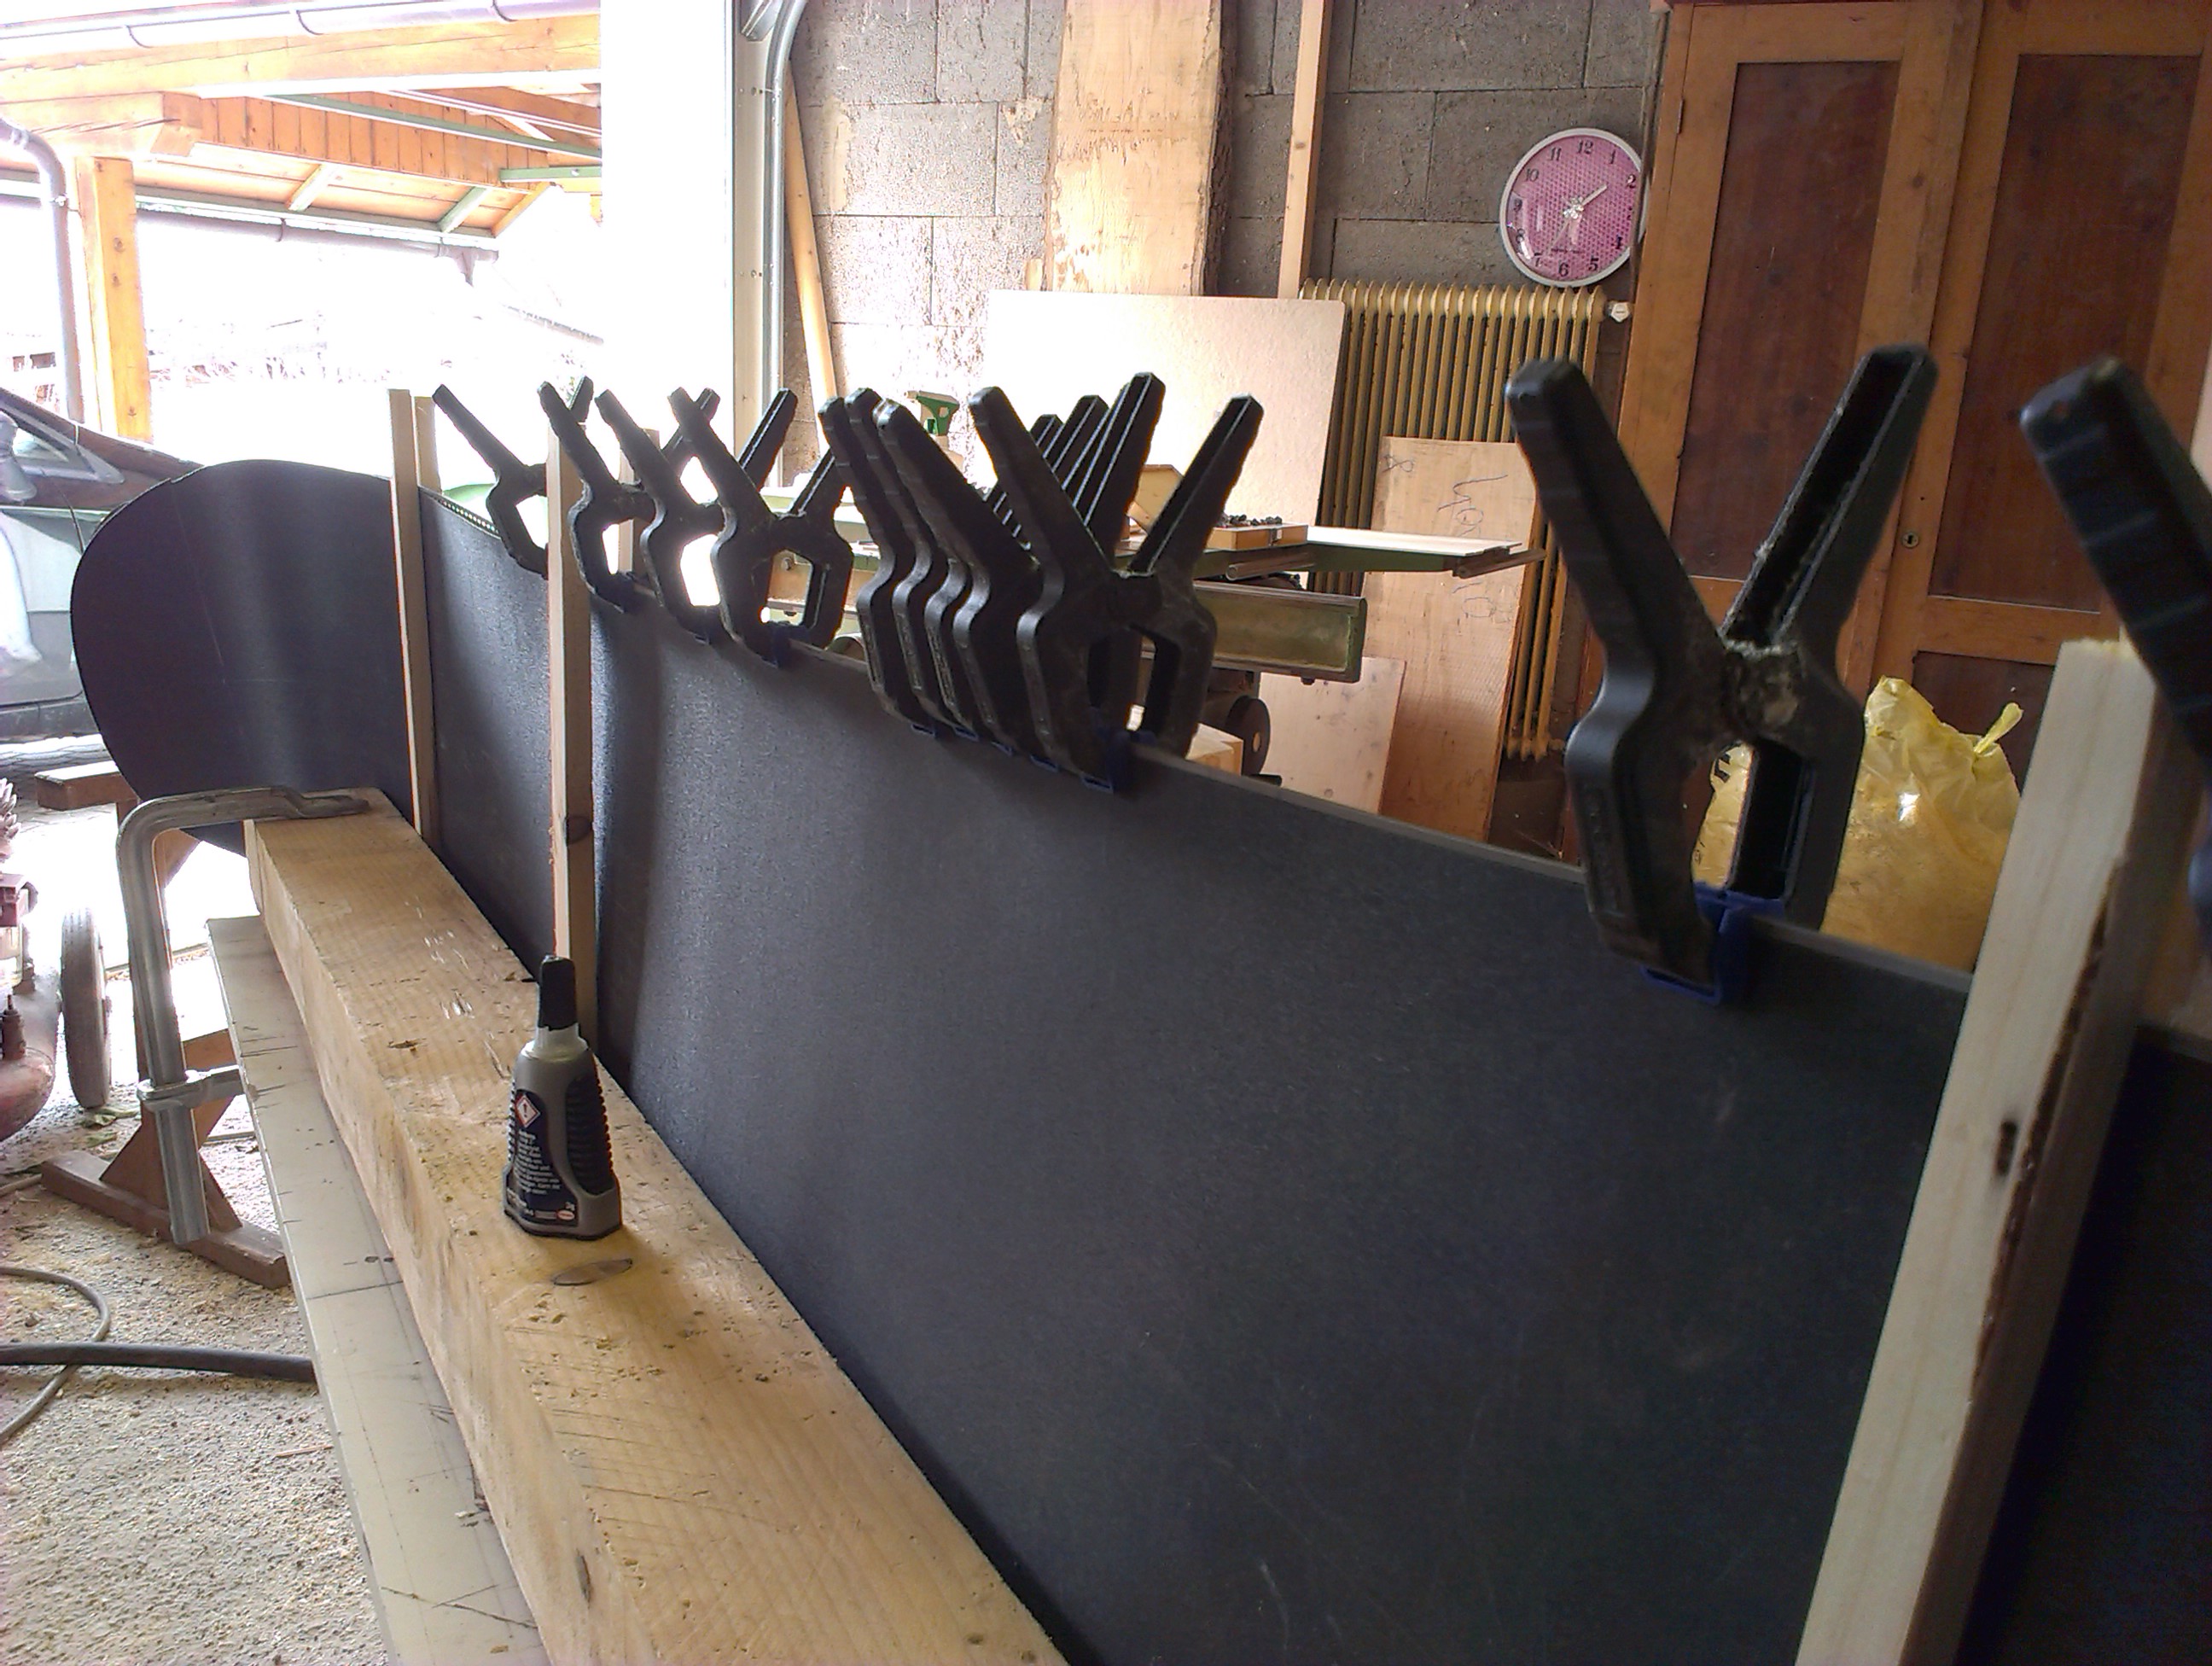
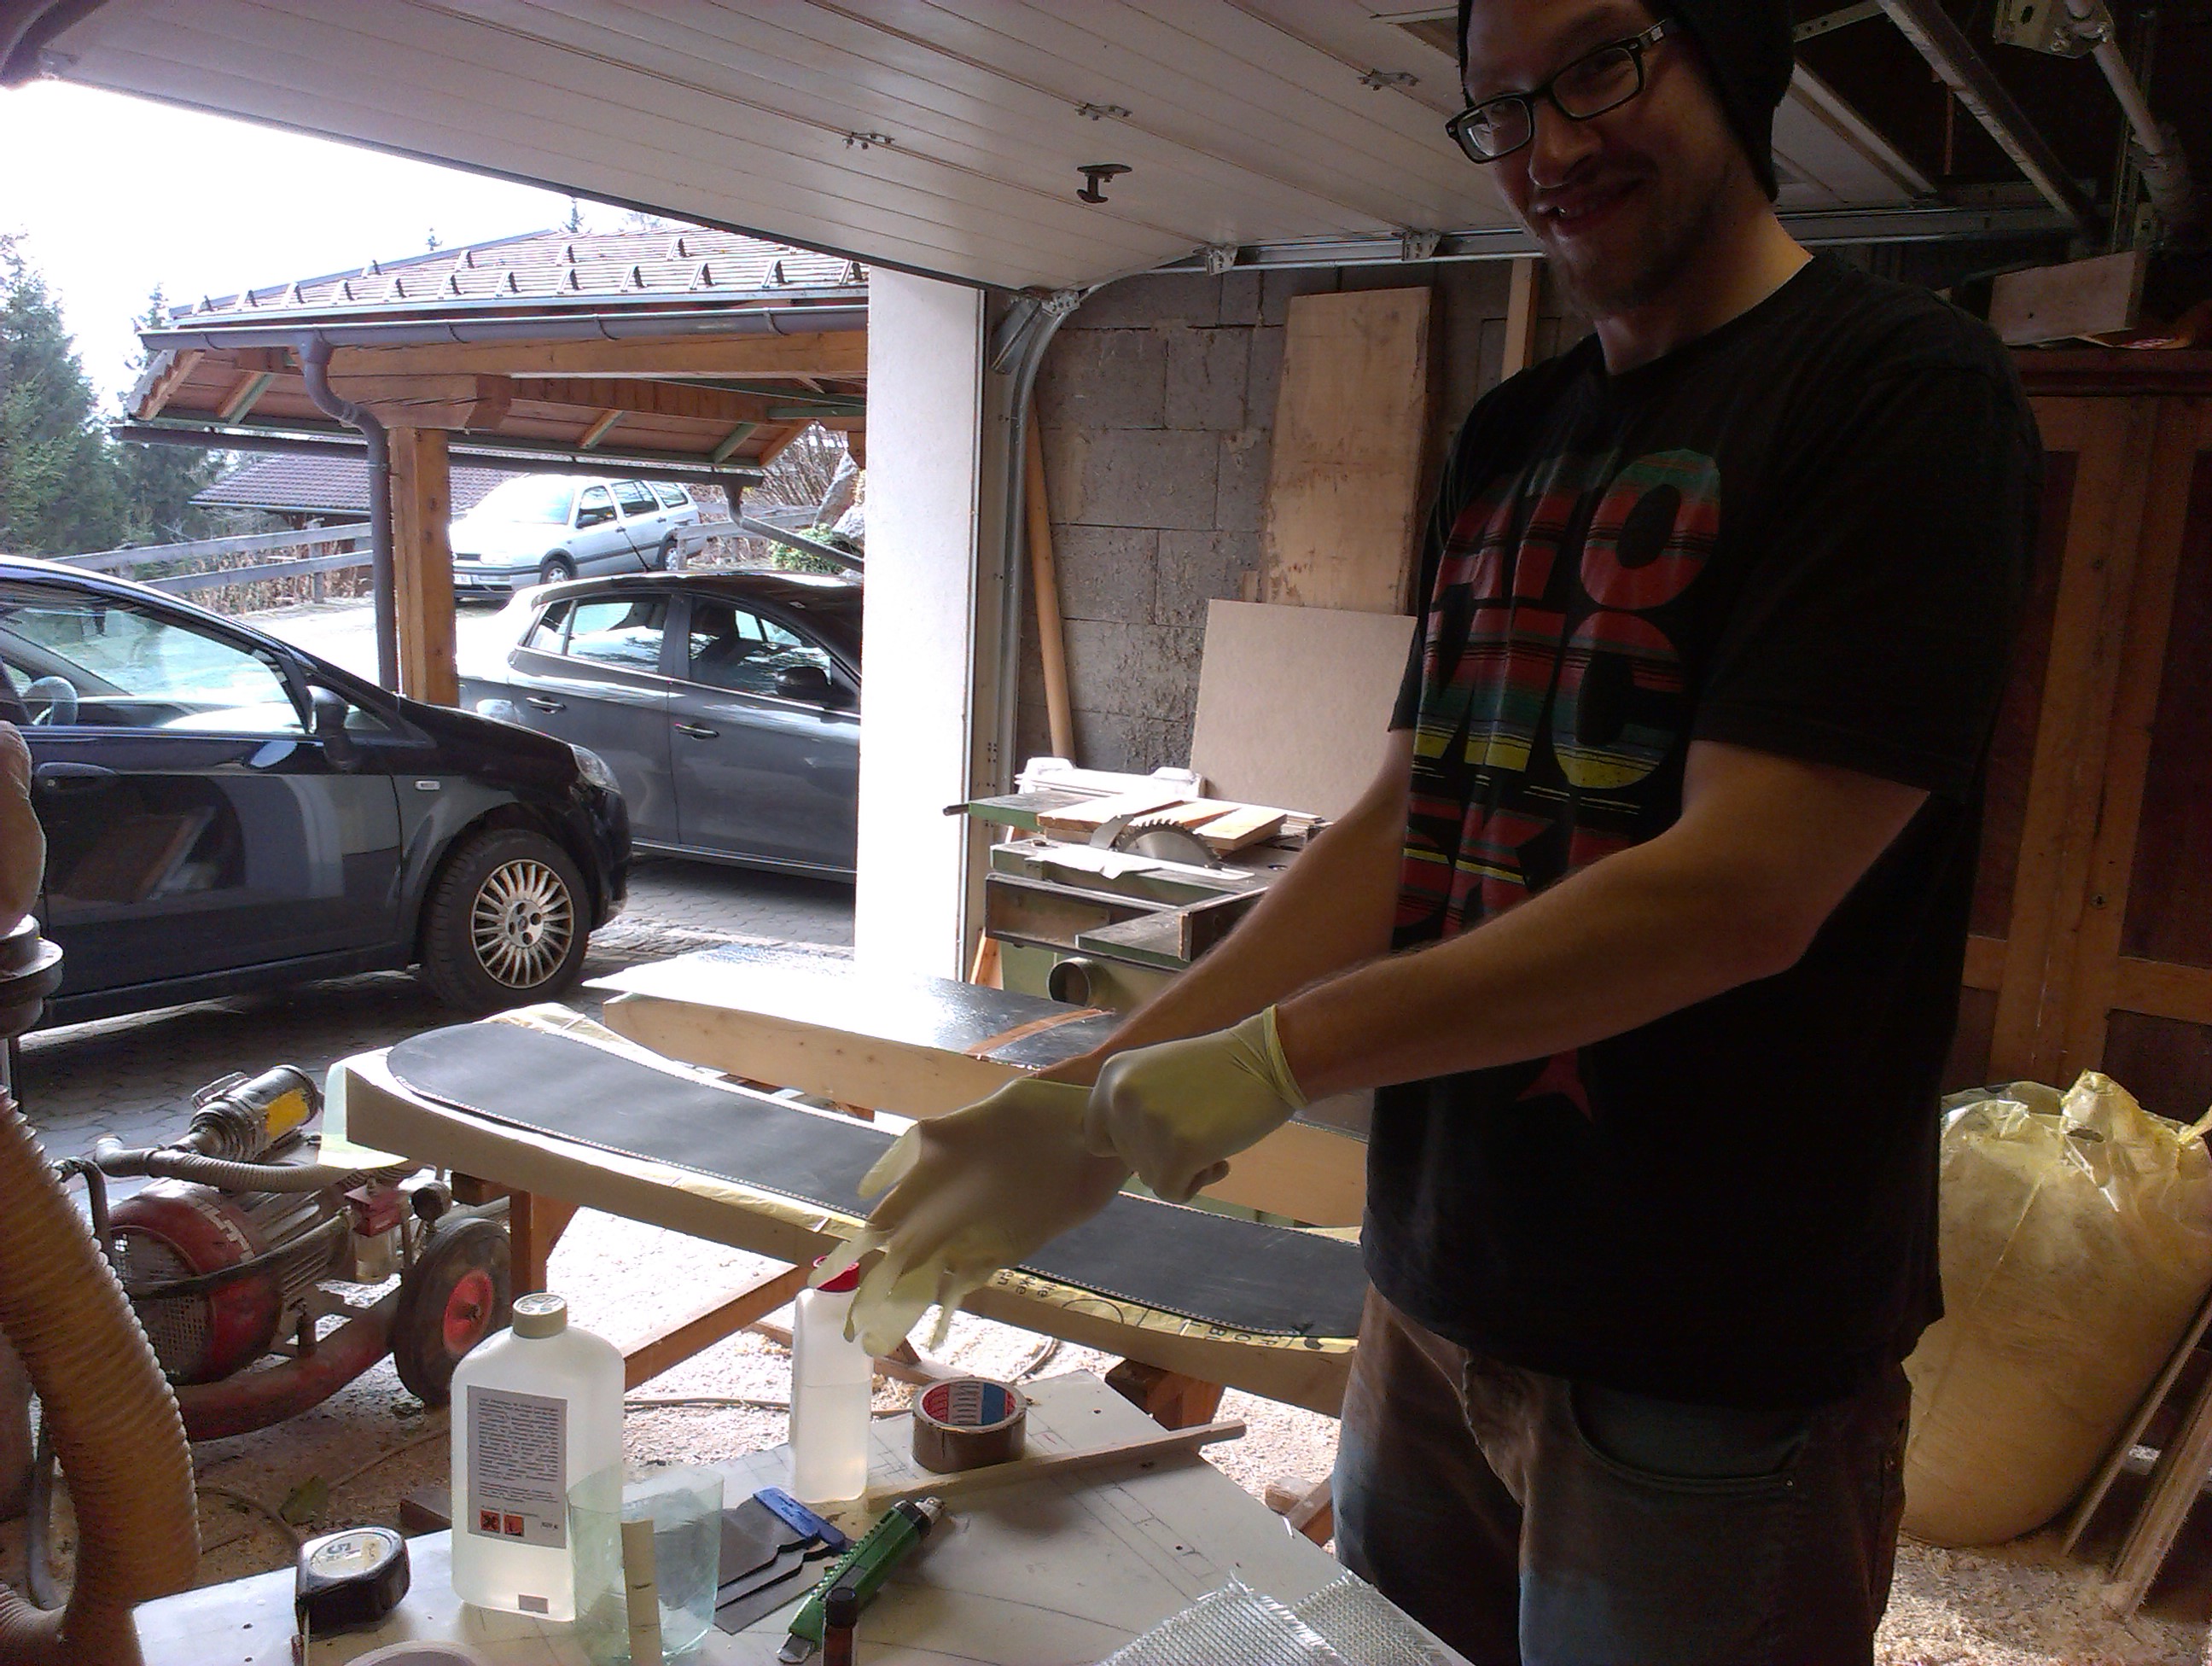
Off into the press
When all the single parts of the board are ready (core, base), it’s time to put everything into the press.
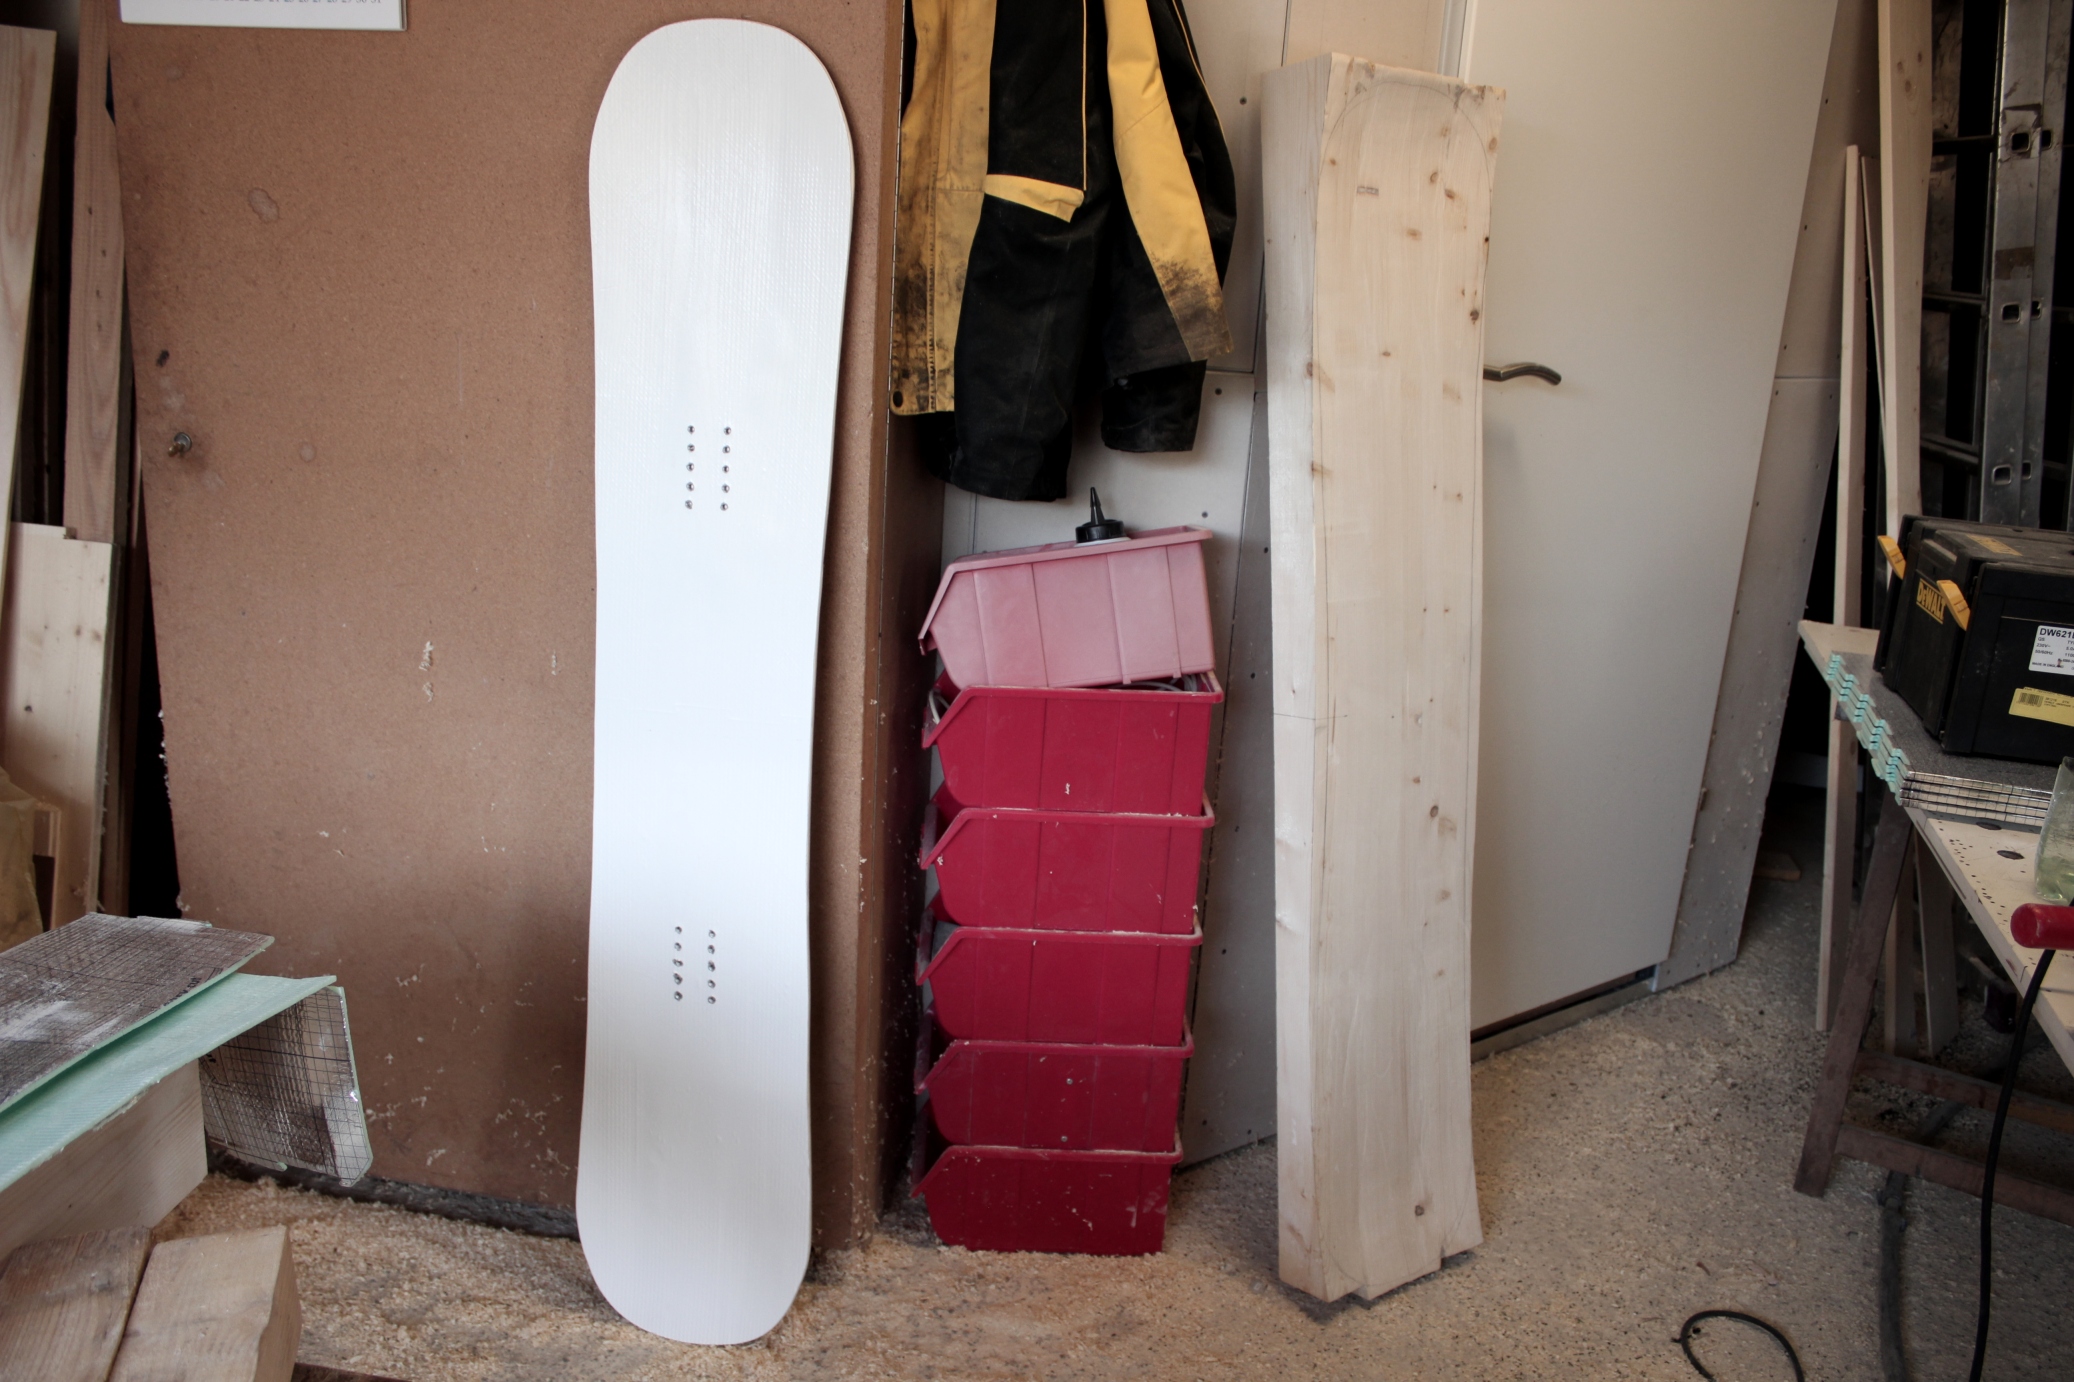
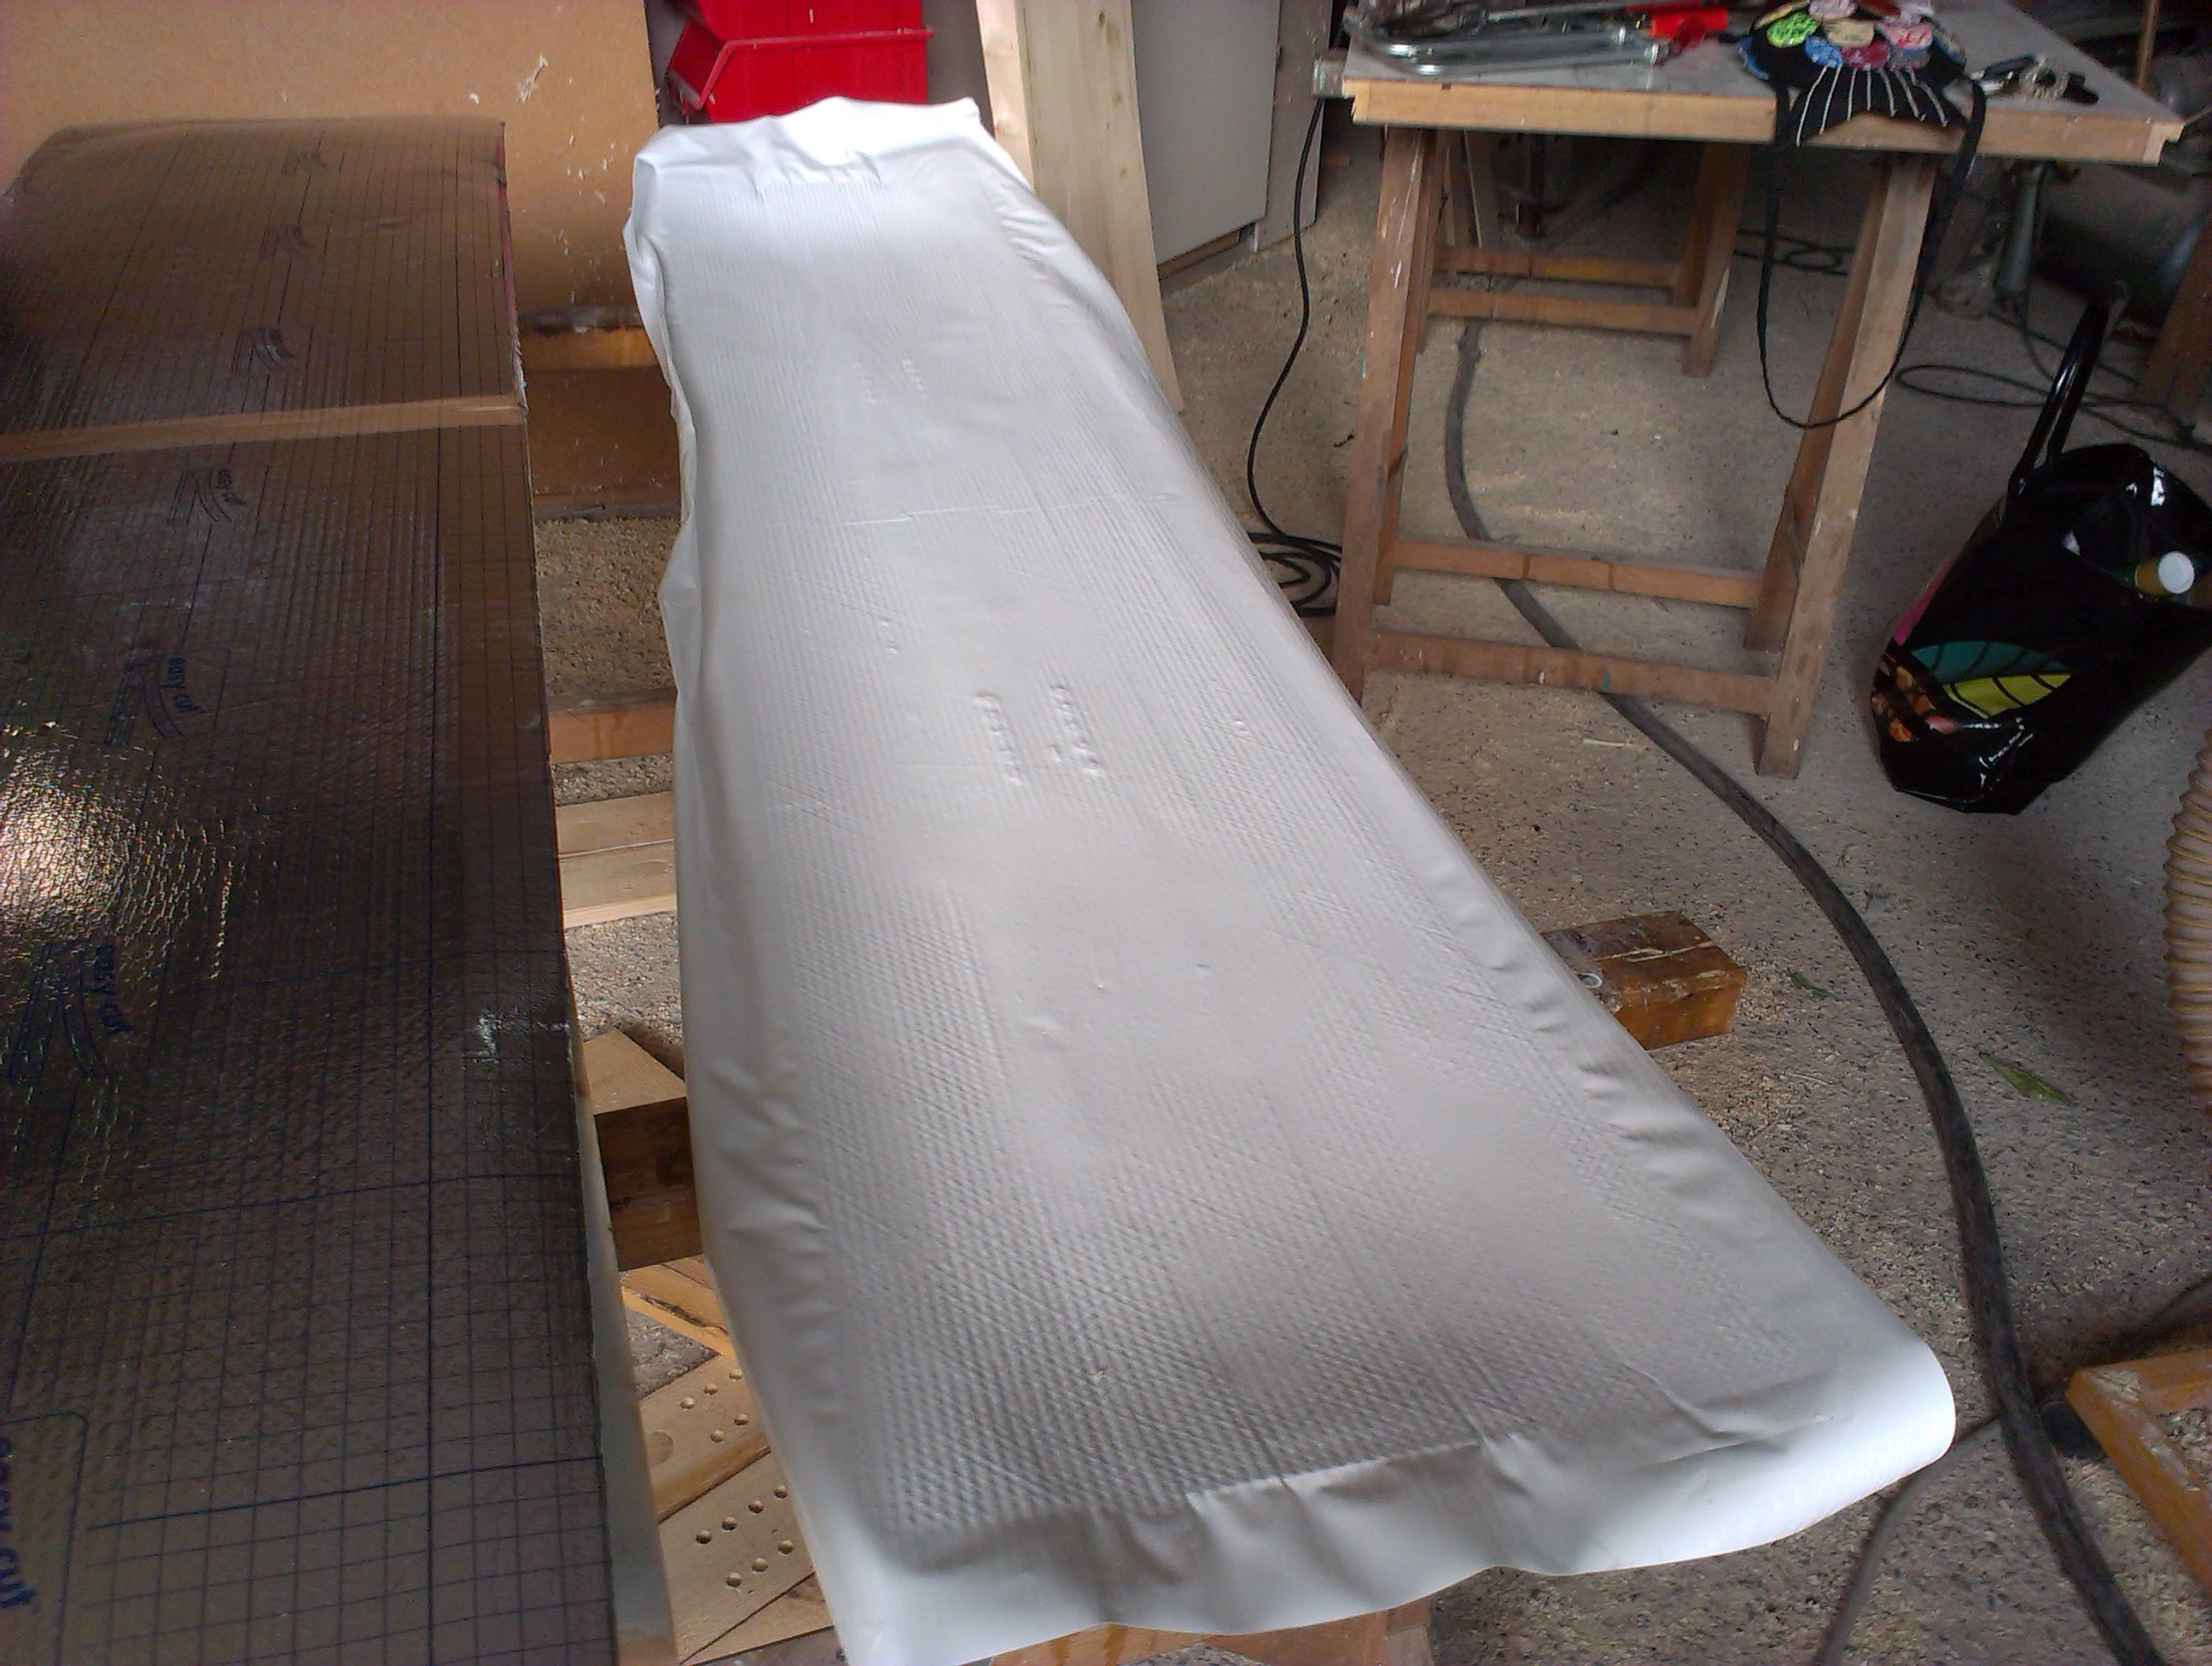
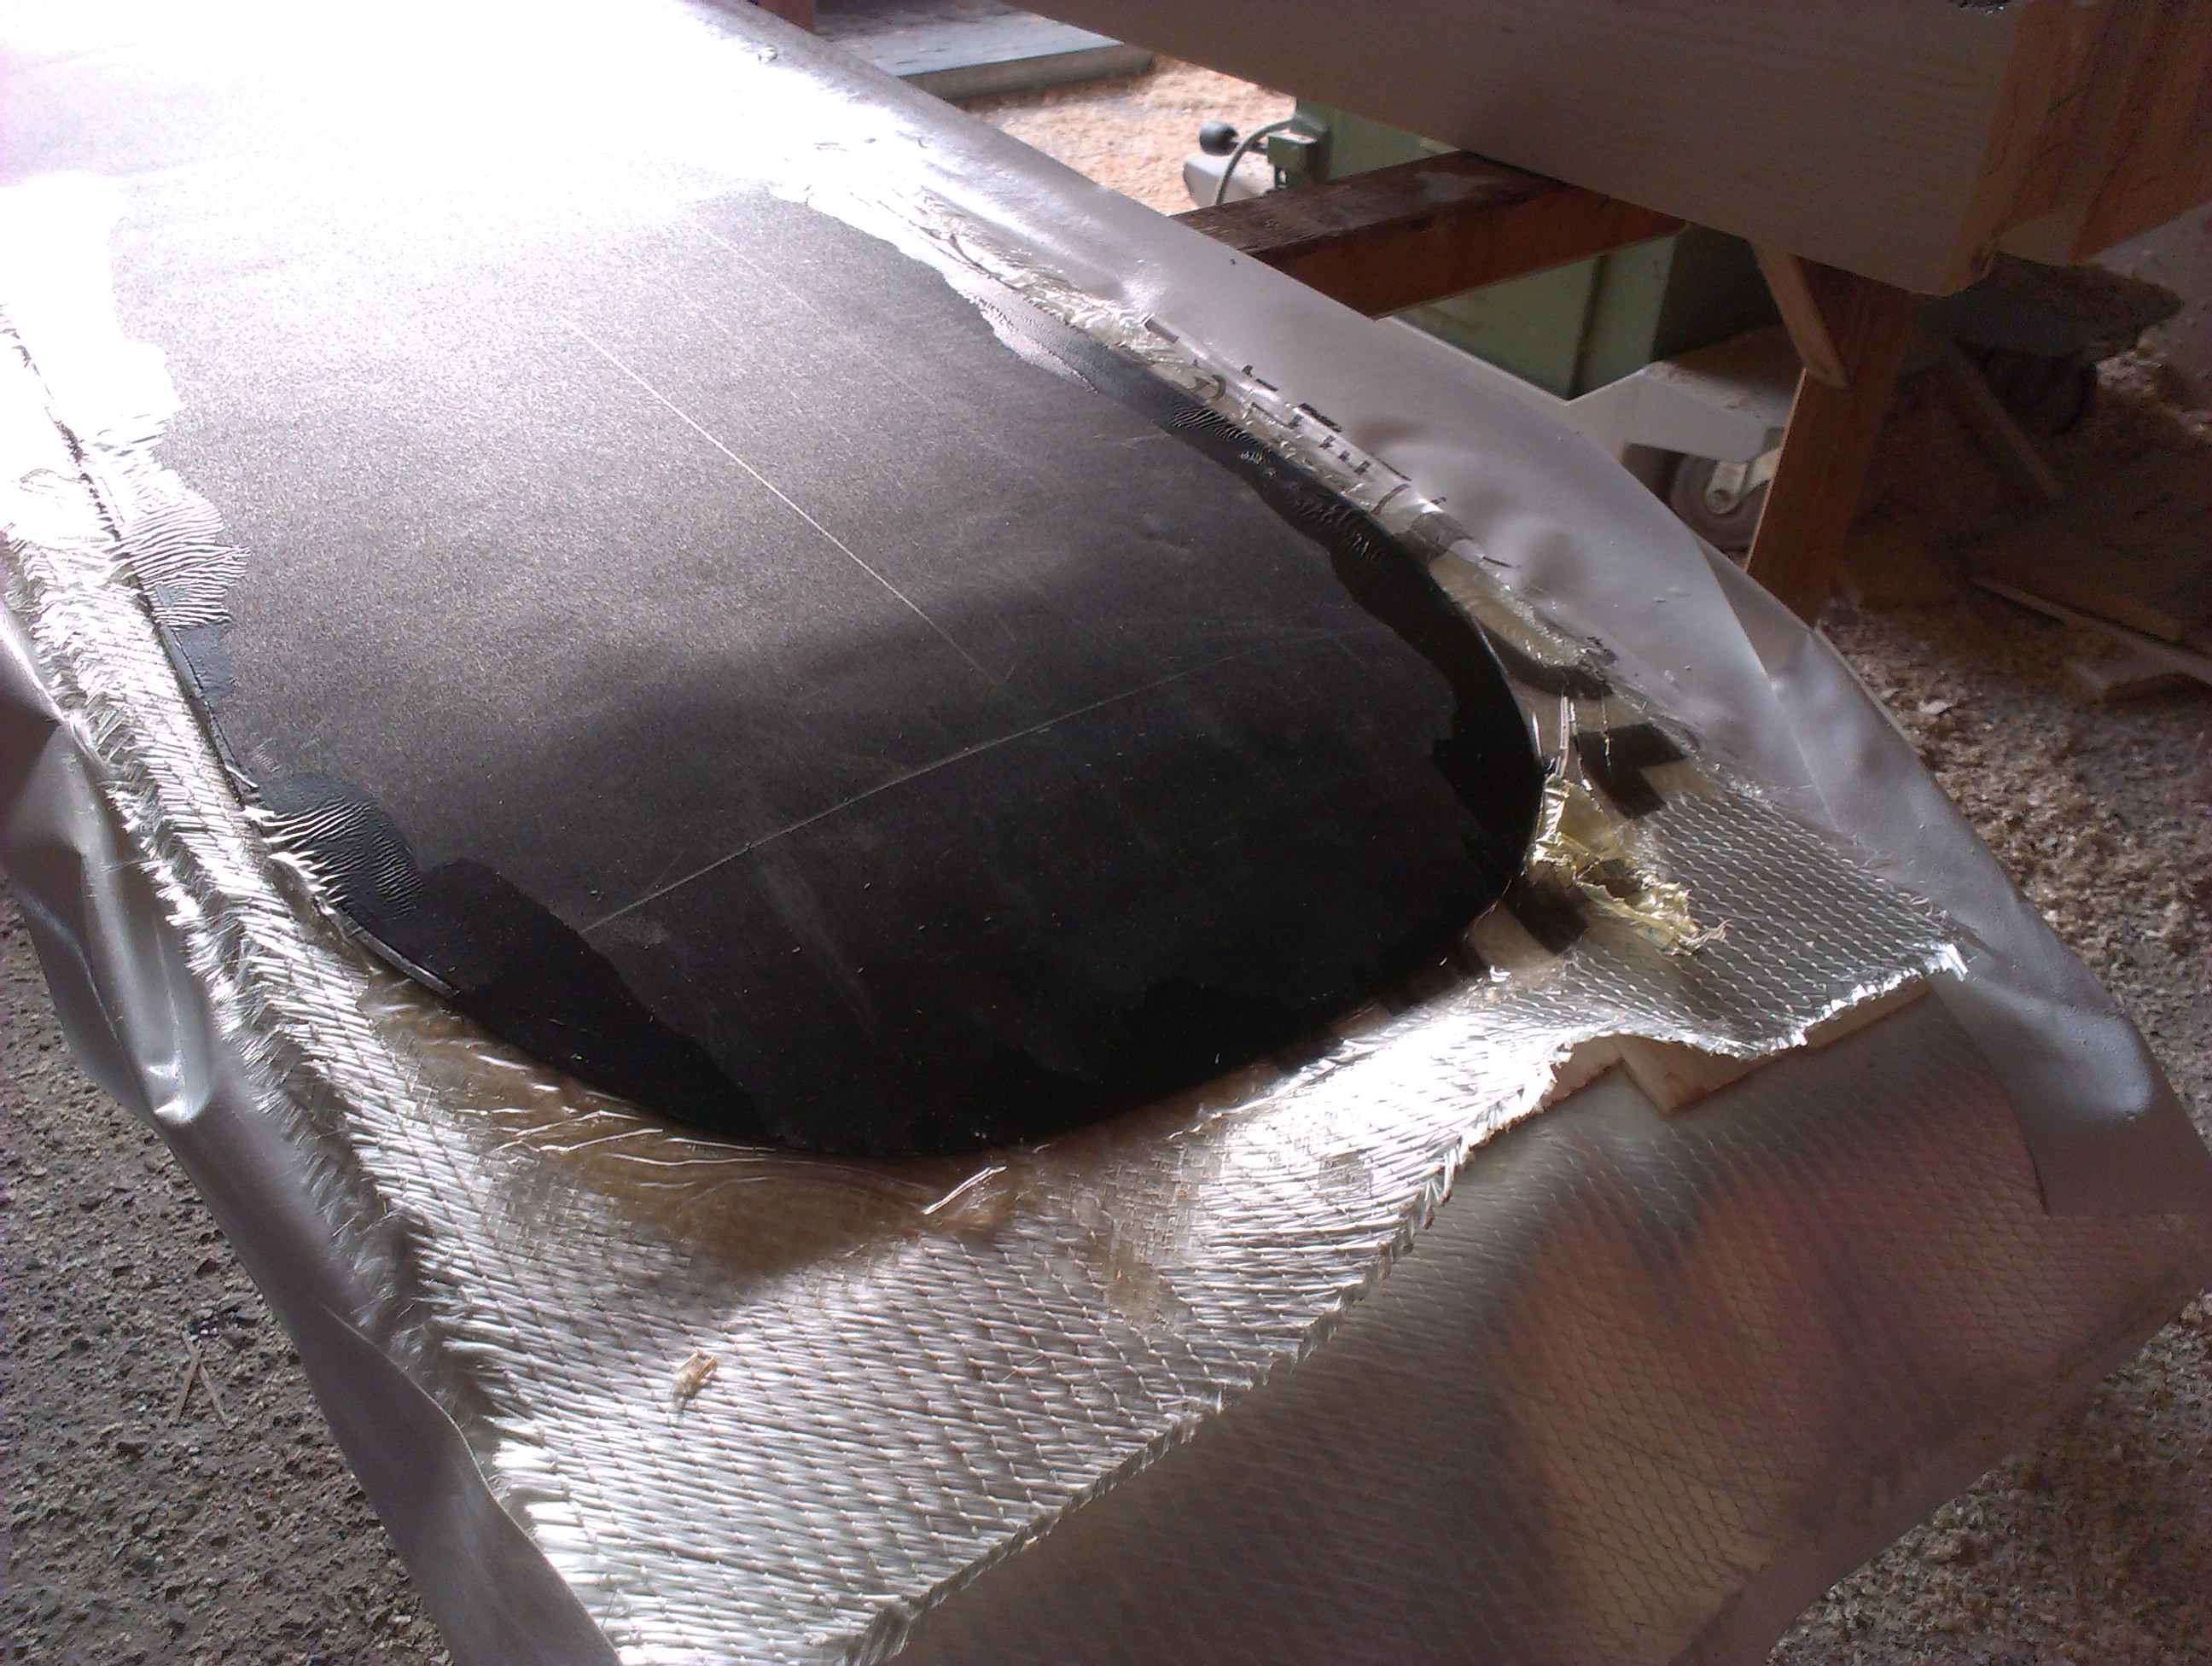
After about 2 days of drying, the ‚board‘ is ready for further treatment. All the wood, fiberglass and epoxy on the sides need to be cut off carefully.
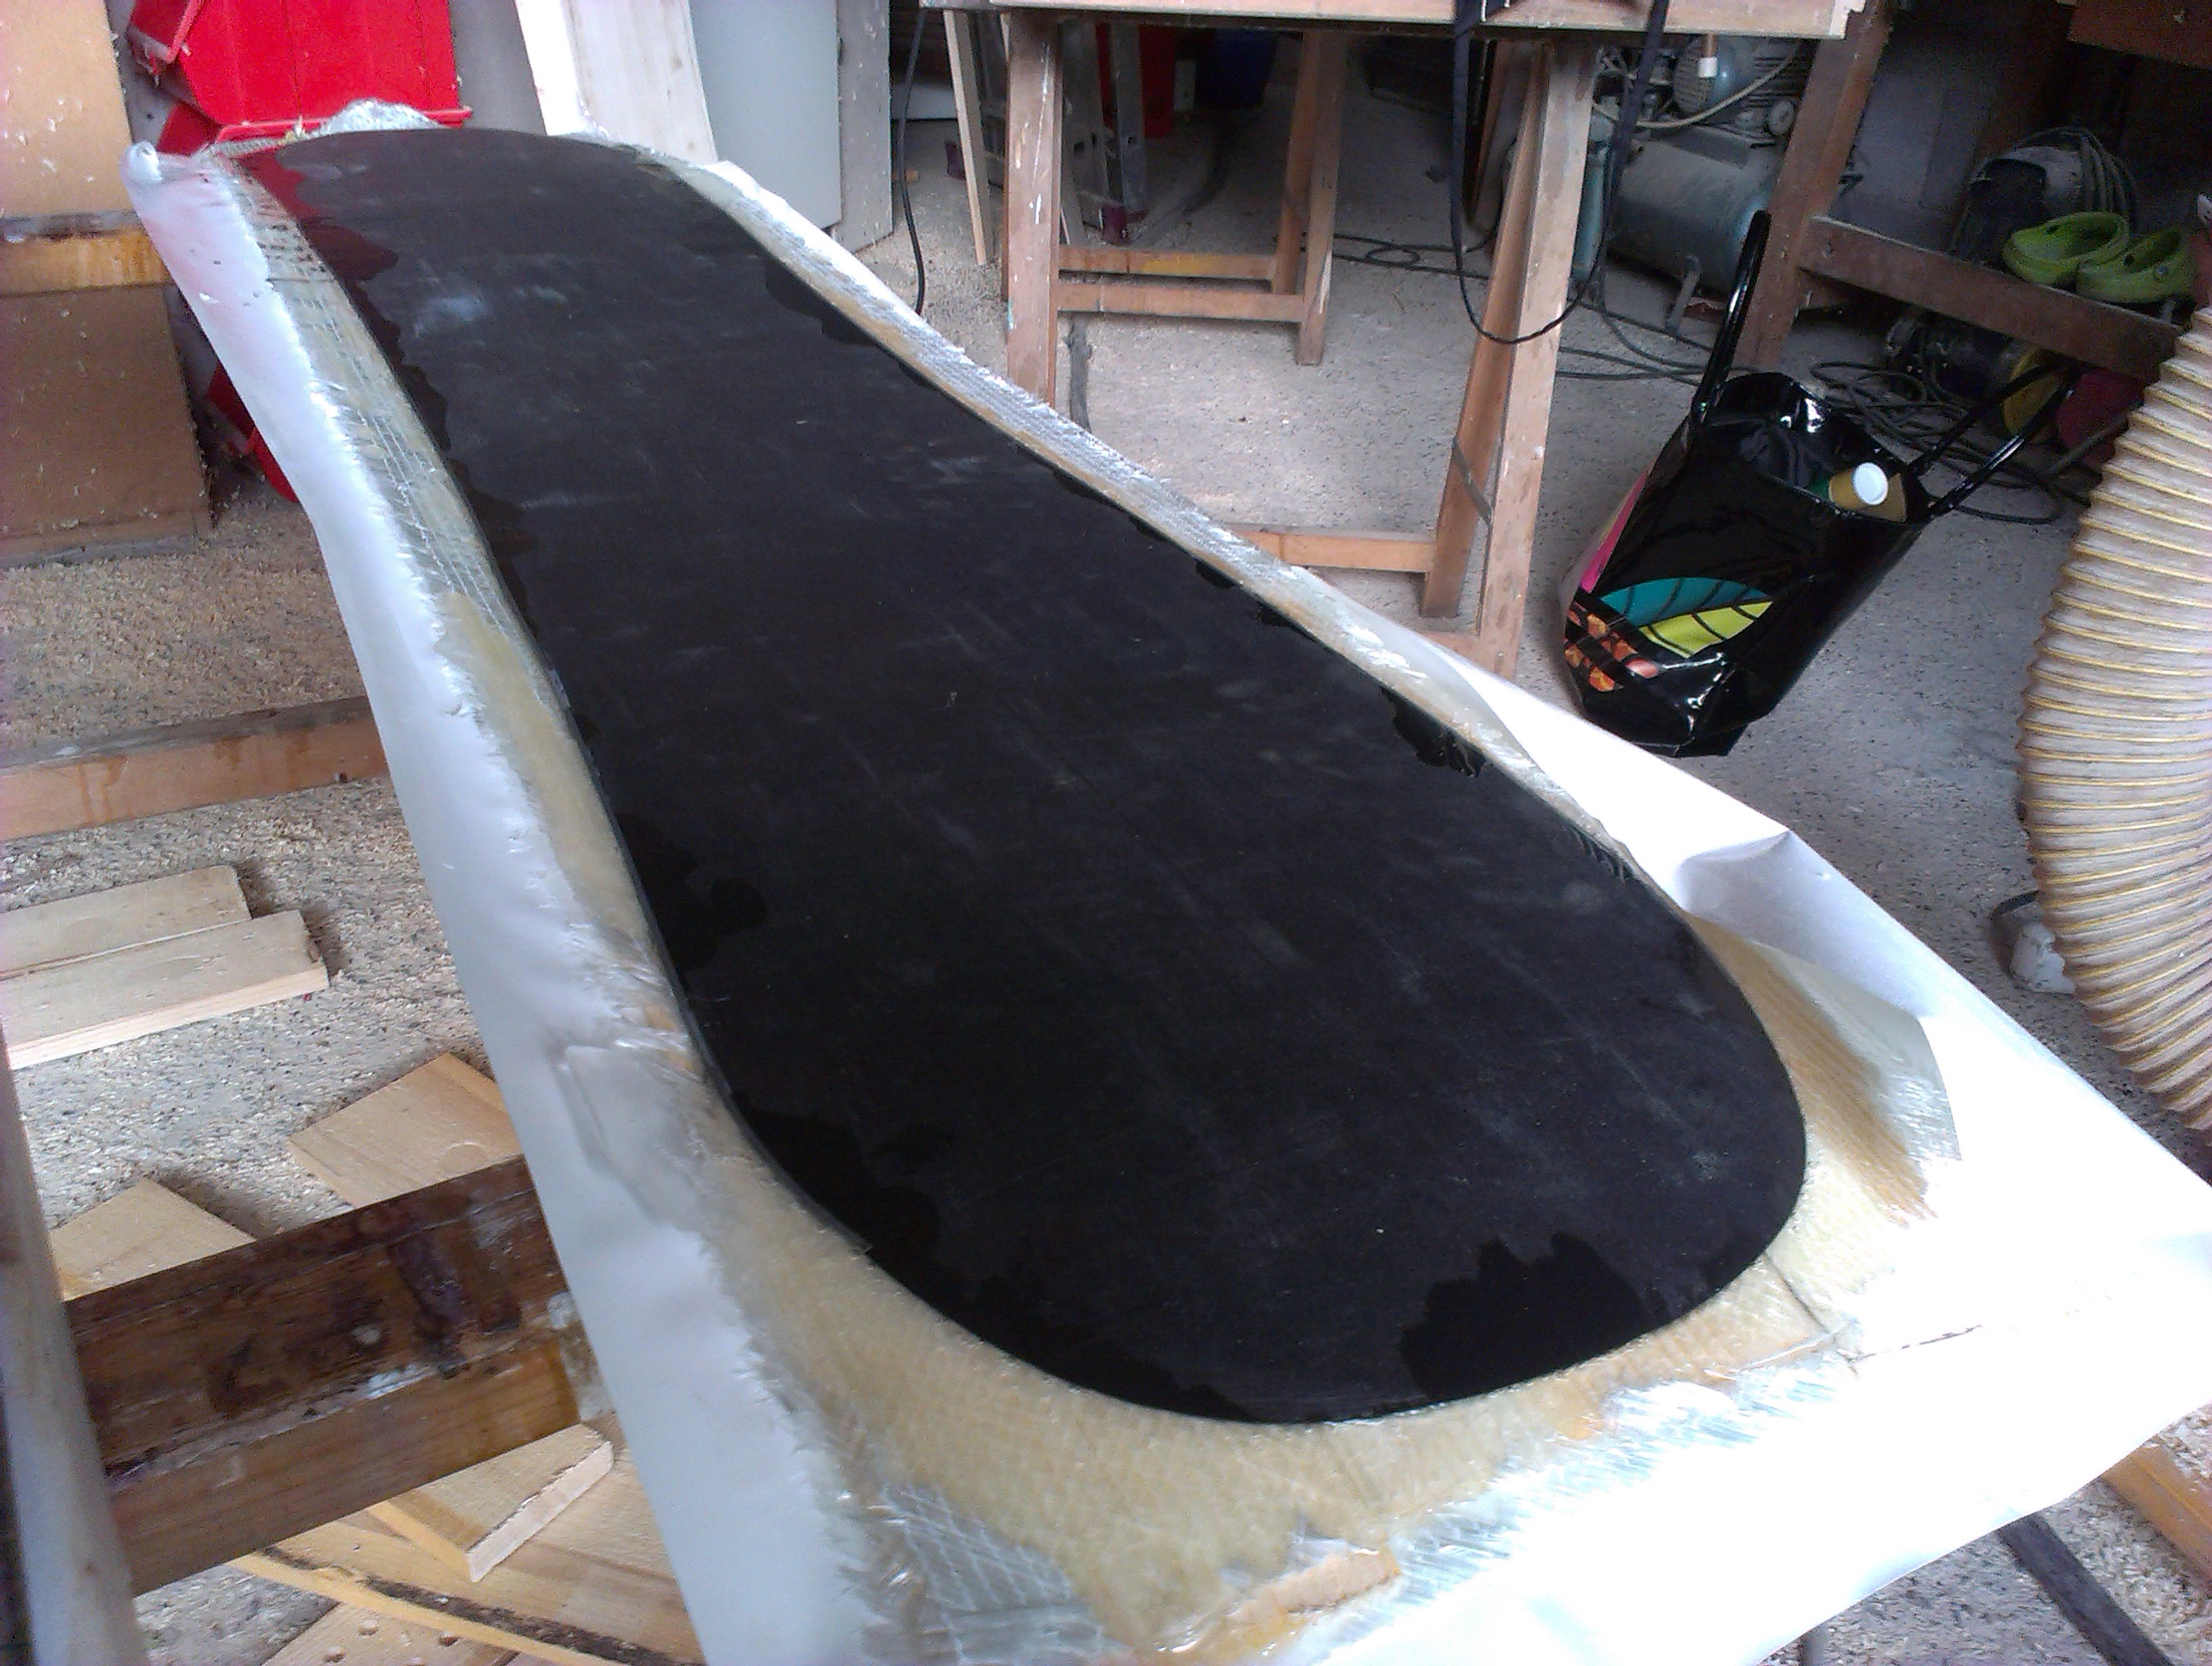
Sanding will help to smoothen out any bumps and receive a final snowboard shape.
The last steps should be the drilling of the inserts and sealing the wood along the board shape with epoxy or waterproof lacquer.